4th - How-To Setup Okta MFA for New Users - Aftermarket.
For Aftermarket Users ONLY
Aftermarket Setup Process:
For a video version of the Aftermarket wiTECH 2.0 Setup Process, please see Video - How To Setup wiTECH 2.0 For Aftermarket Users .
1st - Getting Started with wiTECH 2.0 - Aftermarket
2nd - a - How-To Purchase a Vehicle Communications Interface (VCI) device - Aftermarket
2nd - b - How-To Register a Vehicle Communication Interface (VCI) Device to Your Account - Aftermarket
2nd - c - Registering a J2534 Device - Aftermarket
3rd - How-To Purchase and Assign a wiTECH 2.0 Subscription and Assign Users - Aftermarket
4th - How-To Setup Okta MFA for New Users - Aftermarket. (this article)
5th - How-To Setup Your Vehicle Communication Interface (VCI) Device - Aftermarket
6th - How-To Configure Wireless on a Vehicle Communication Interface (VCI) Device - Aftermarket
7th - How-To Purchase a TechAuthority Subscription - Aftermarket
4th - How-To Setup Okta MFA for New Users - Aftermarket |
- After a new user’s email is associated to a device, the user will receive a welcome email from Okta with instructions on how-to setup Okta Multi Factor Authentication (MFA). If a new user did not receive an email from Okta, be sure to check the junk folder and verify the email address was typed correctly in MTSP. If the user still did not receive the Okta welcome email, contact wiTECH support.
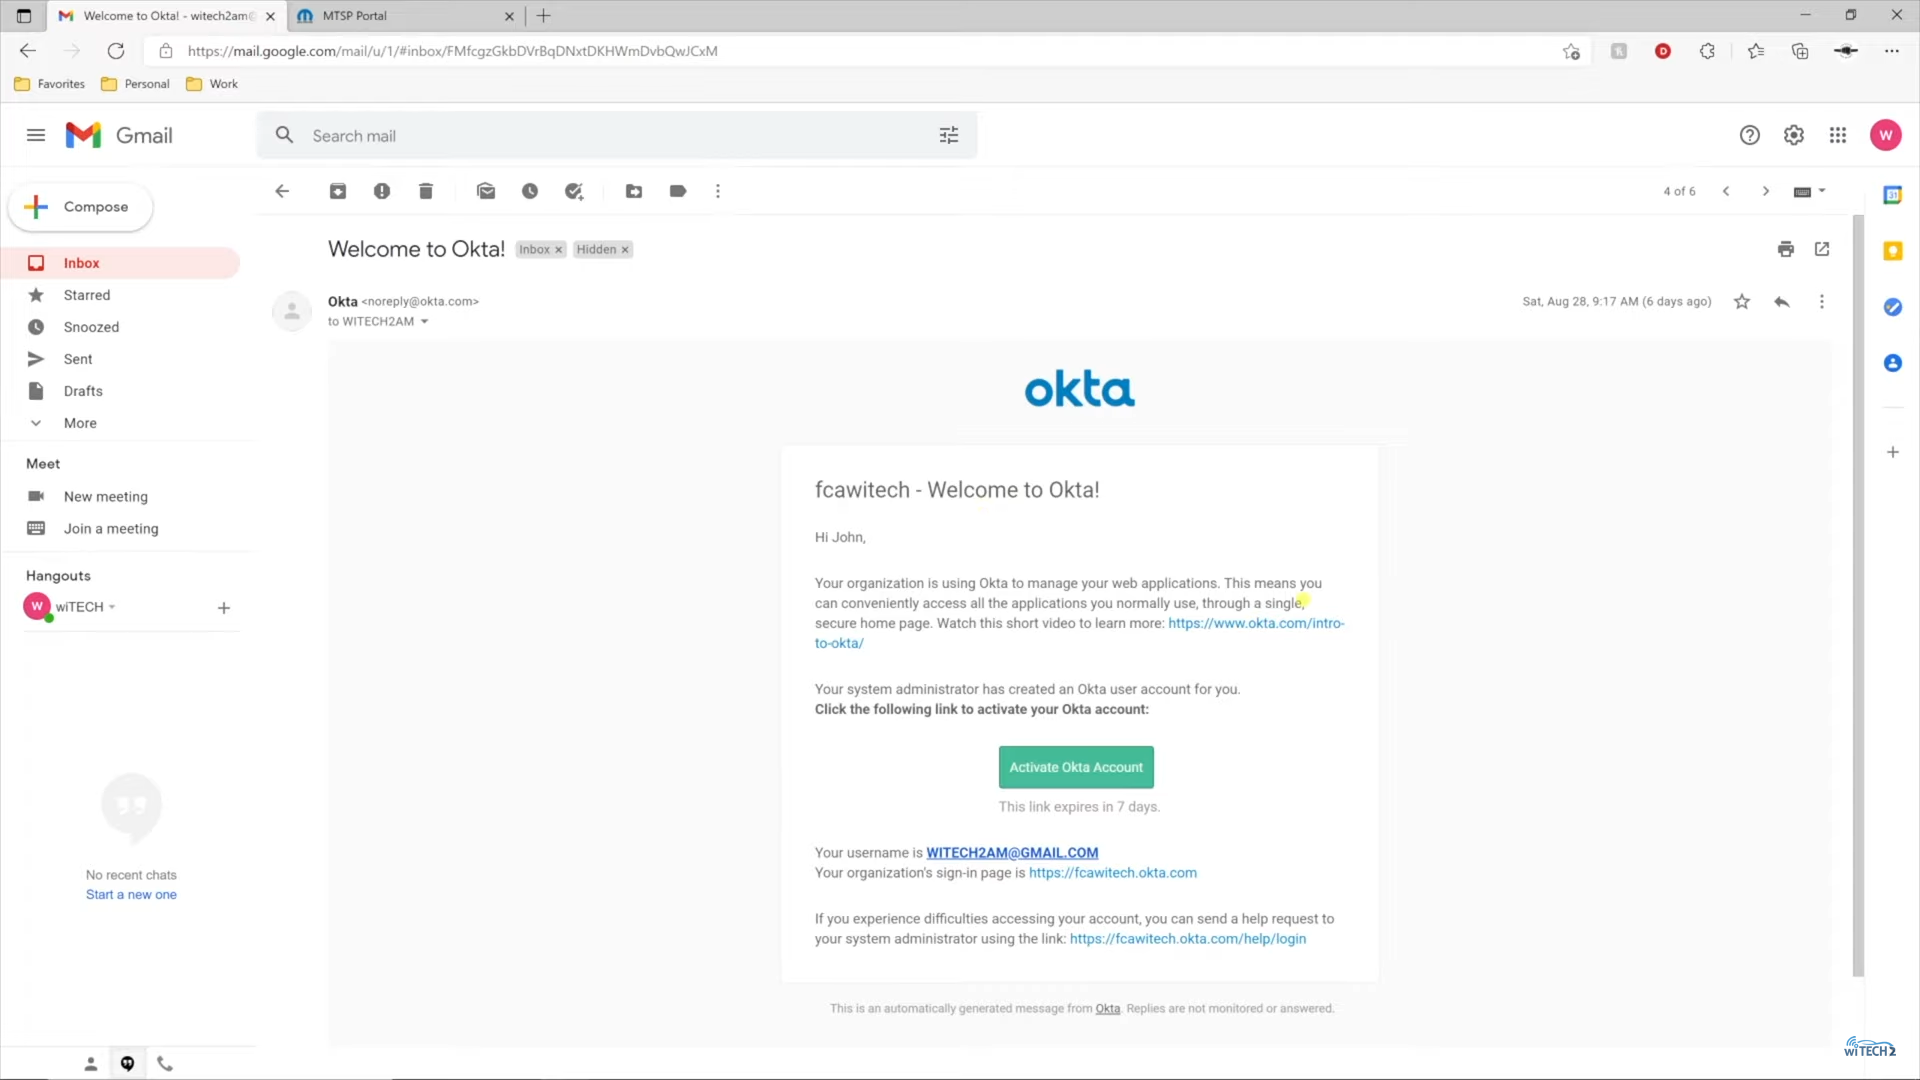
- Select the “Activate Okta Account” link in the email.
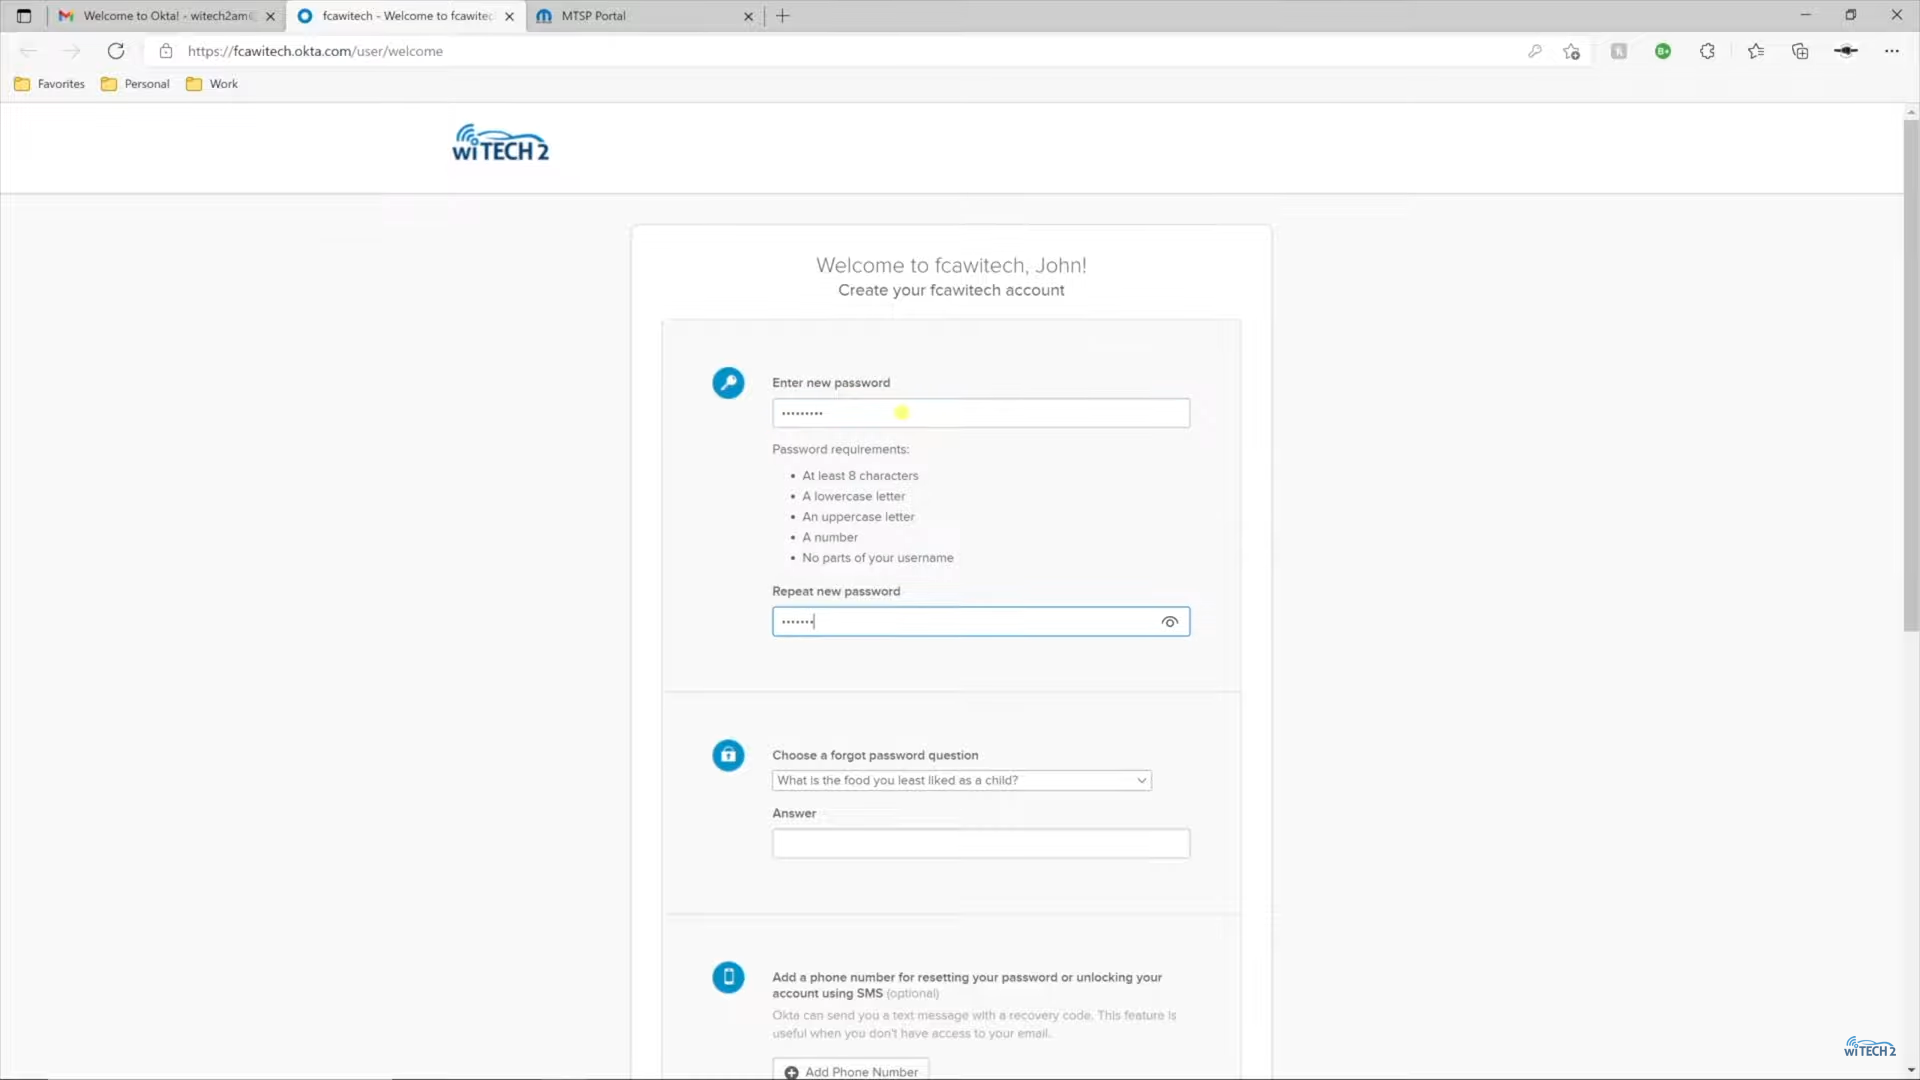
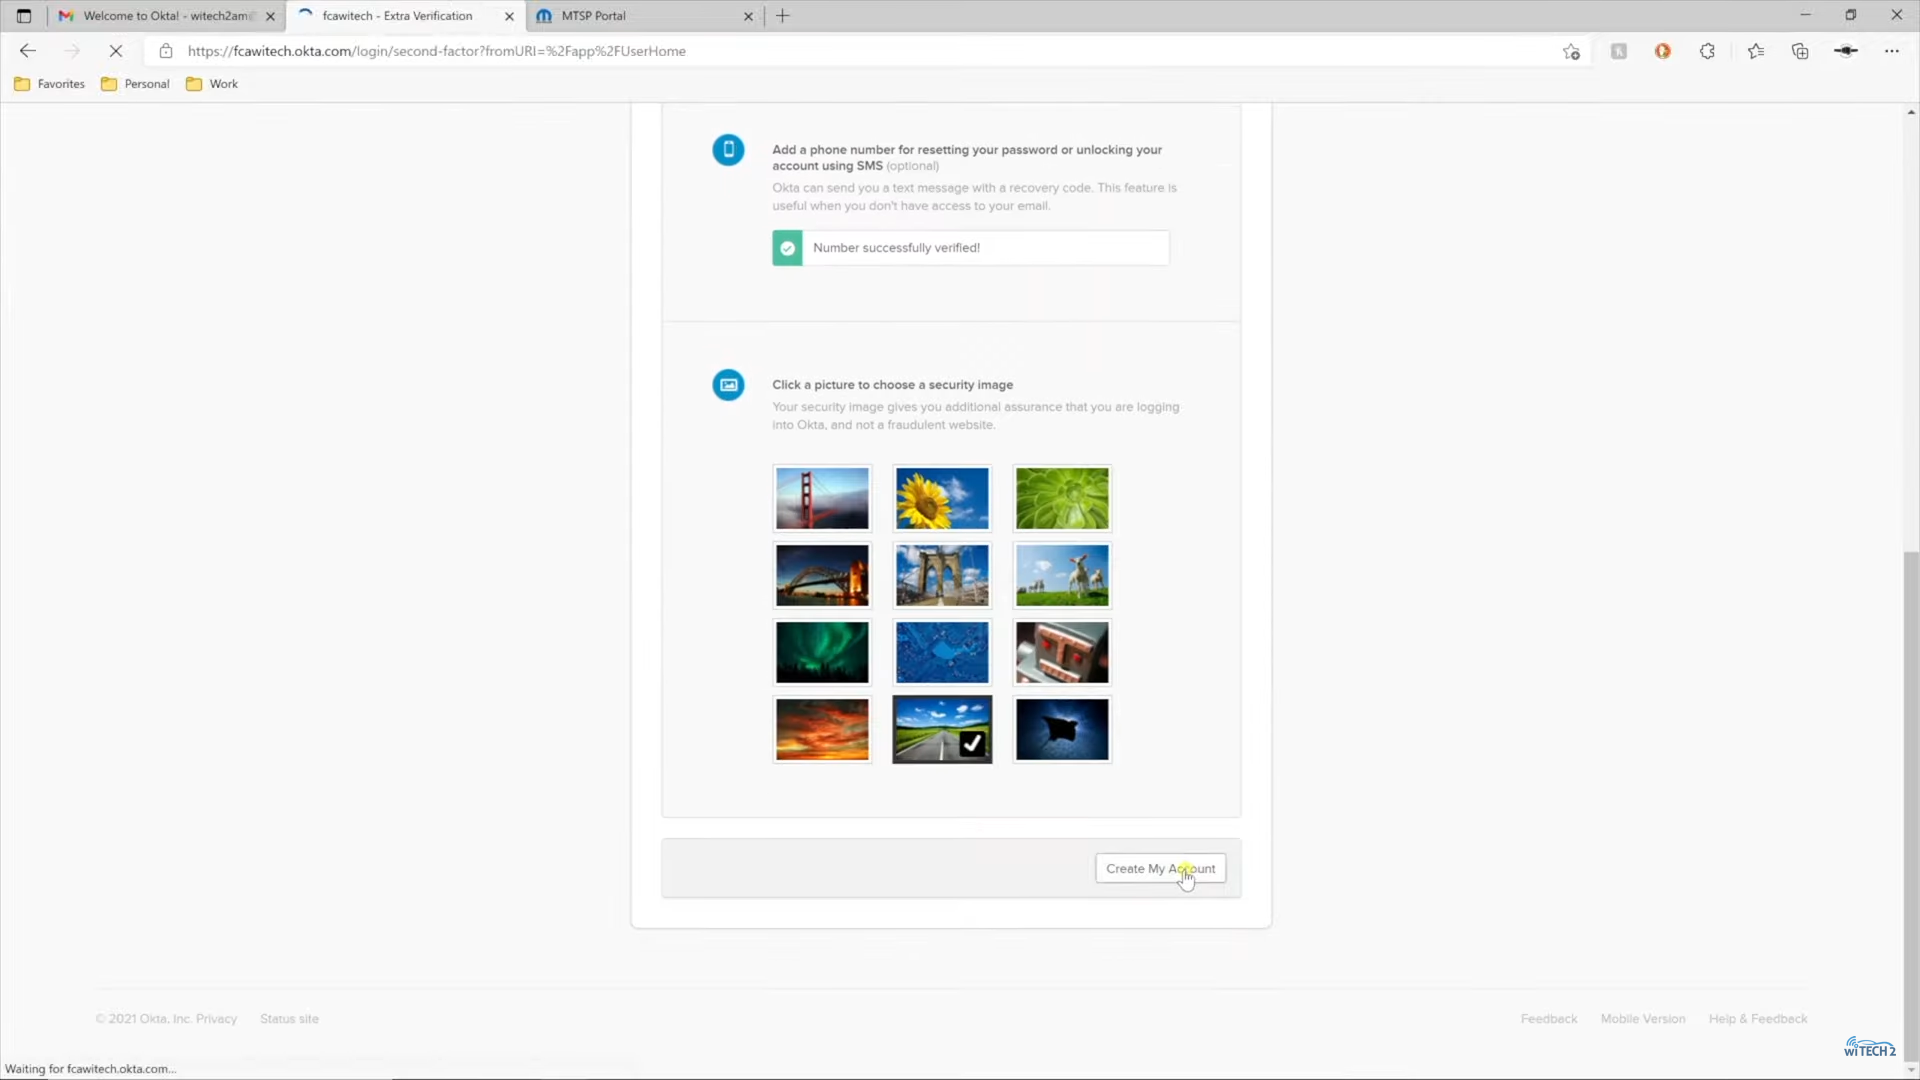
- Enter a password for the new account, answer the security questions, enter a recovery phone number, and select a security image.
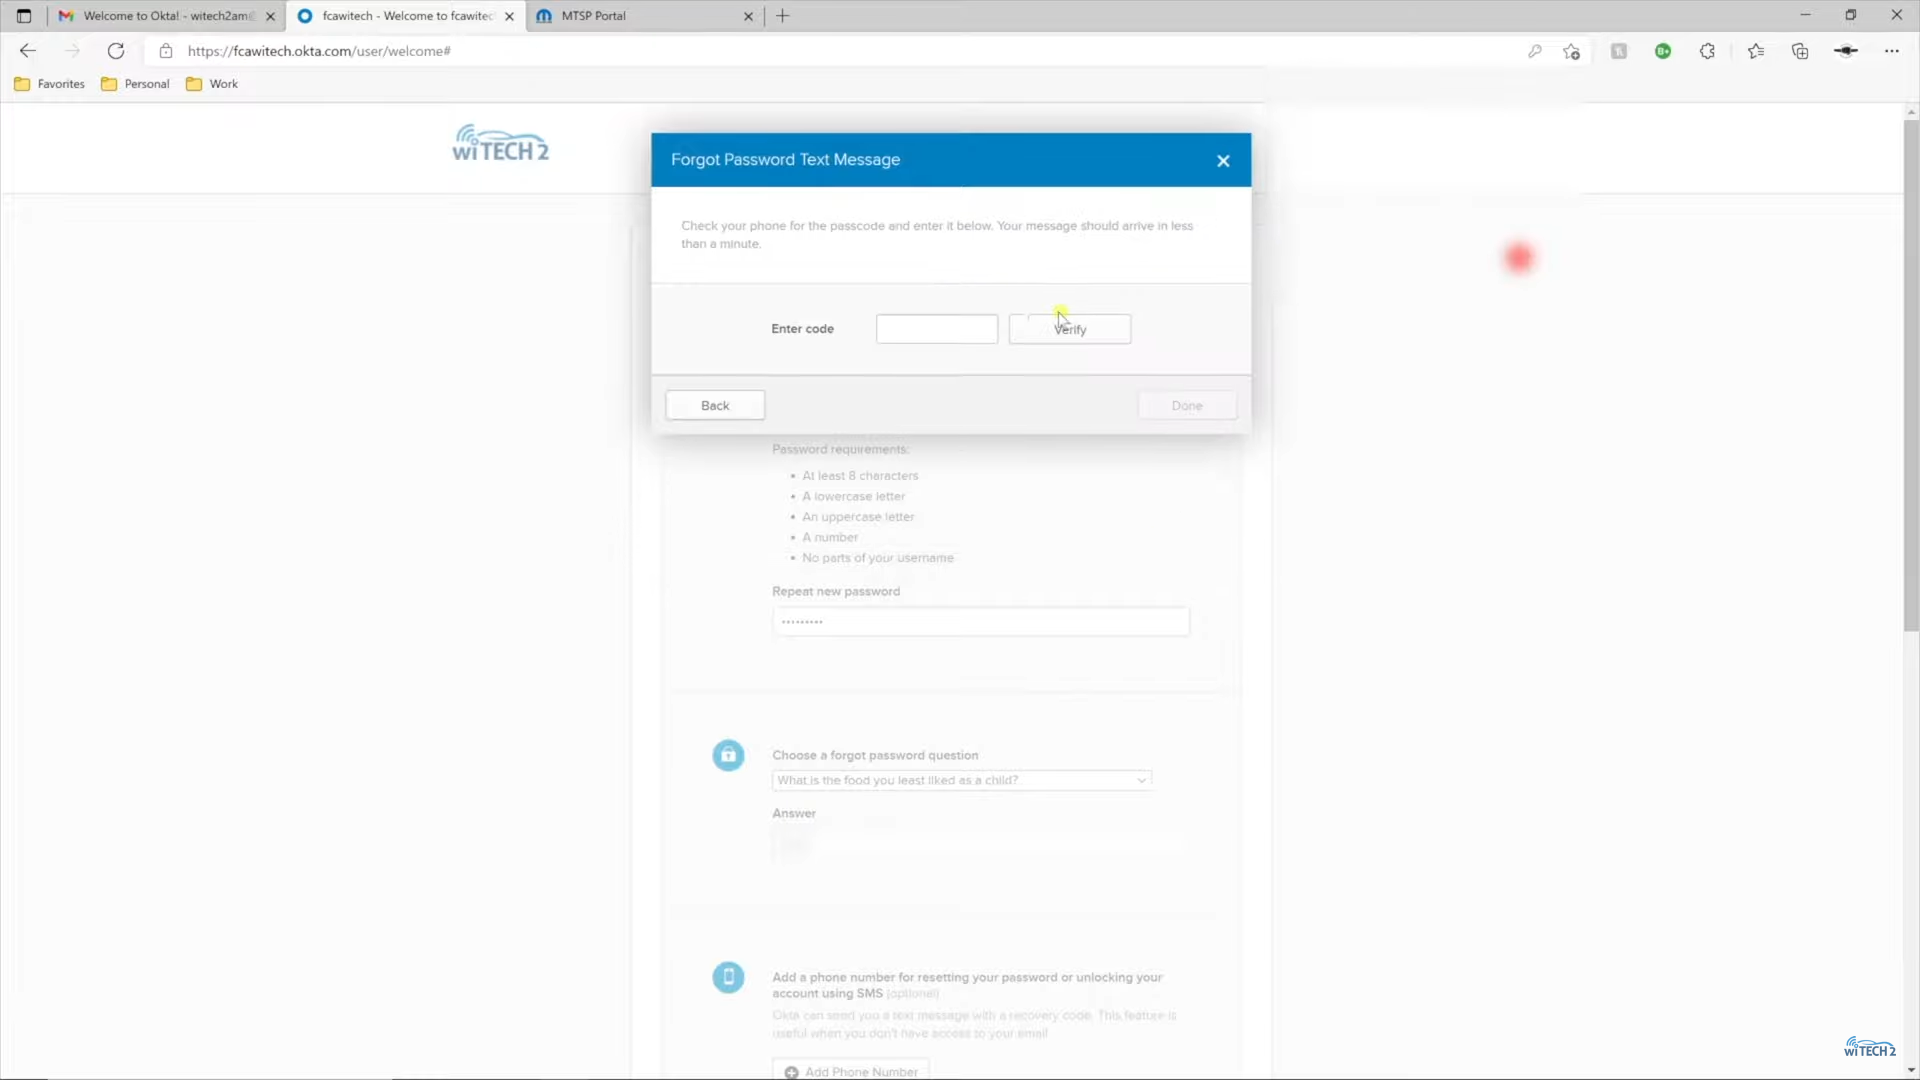
- Verify the recovery phone number using the code texted to the phone number.
- Select “Create my Account”.
- Select an authentication method.
NOTE: A smartphone or tablet is needed for Okta Verify or Google Authenticator. A YubiKey can be purchased from www.yubico.com/store . wiTECH 2 does not support the FIDOU2F security key.
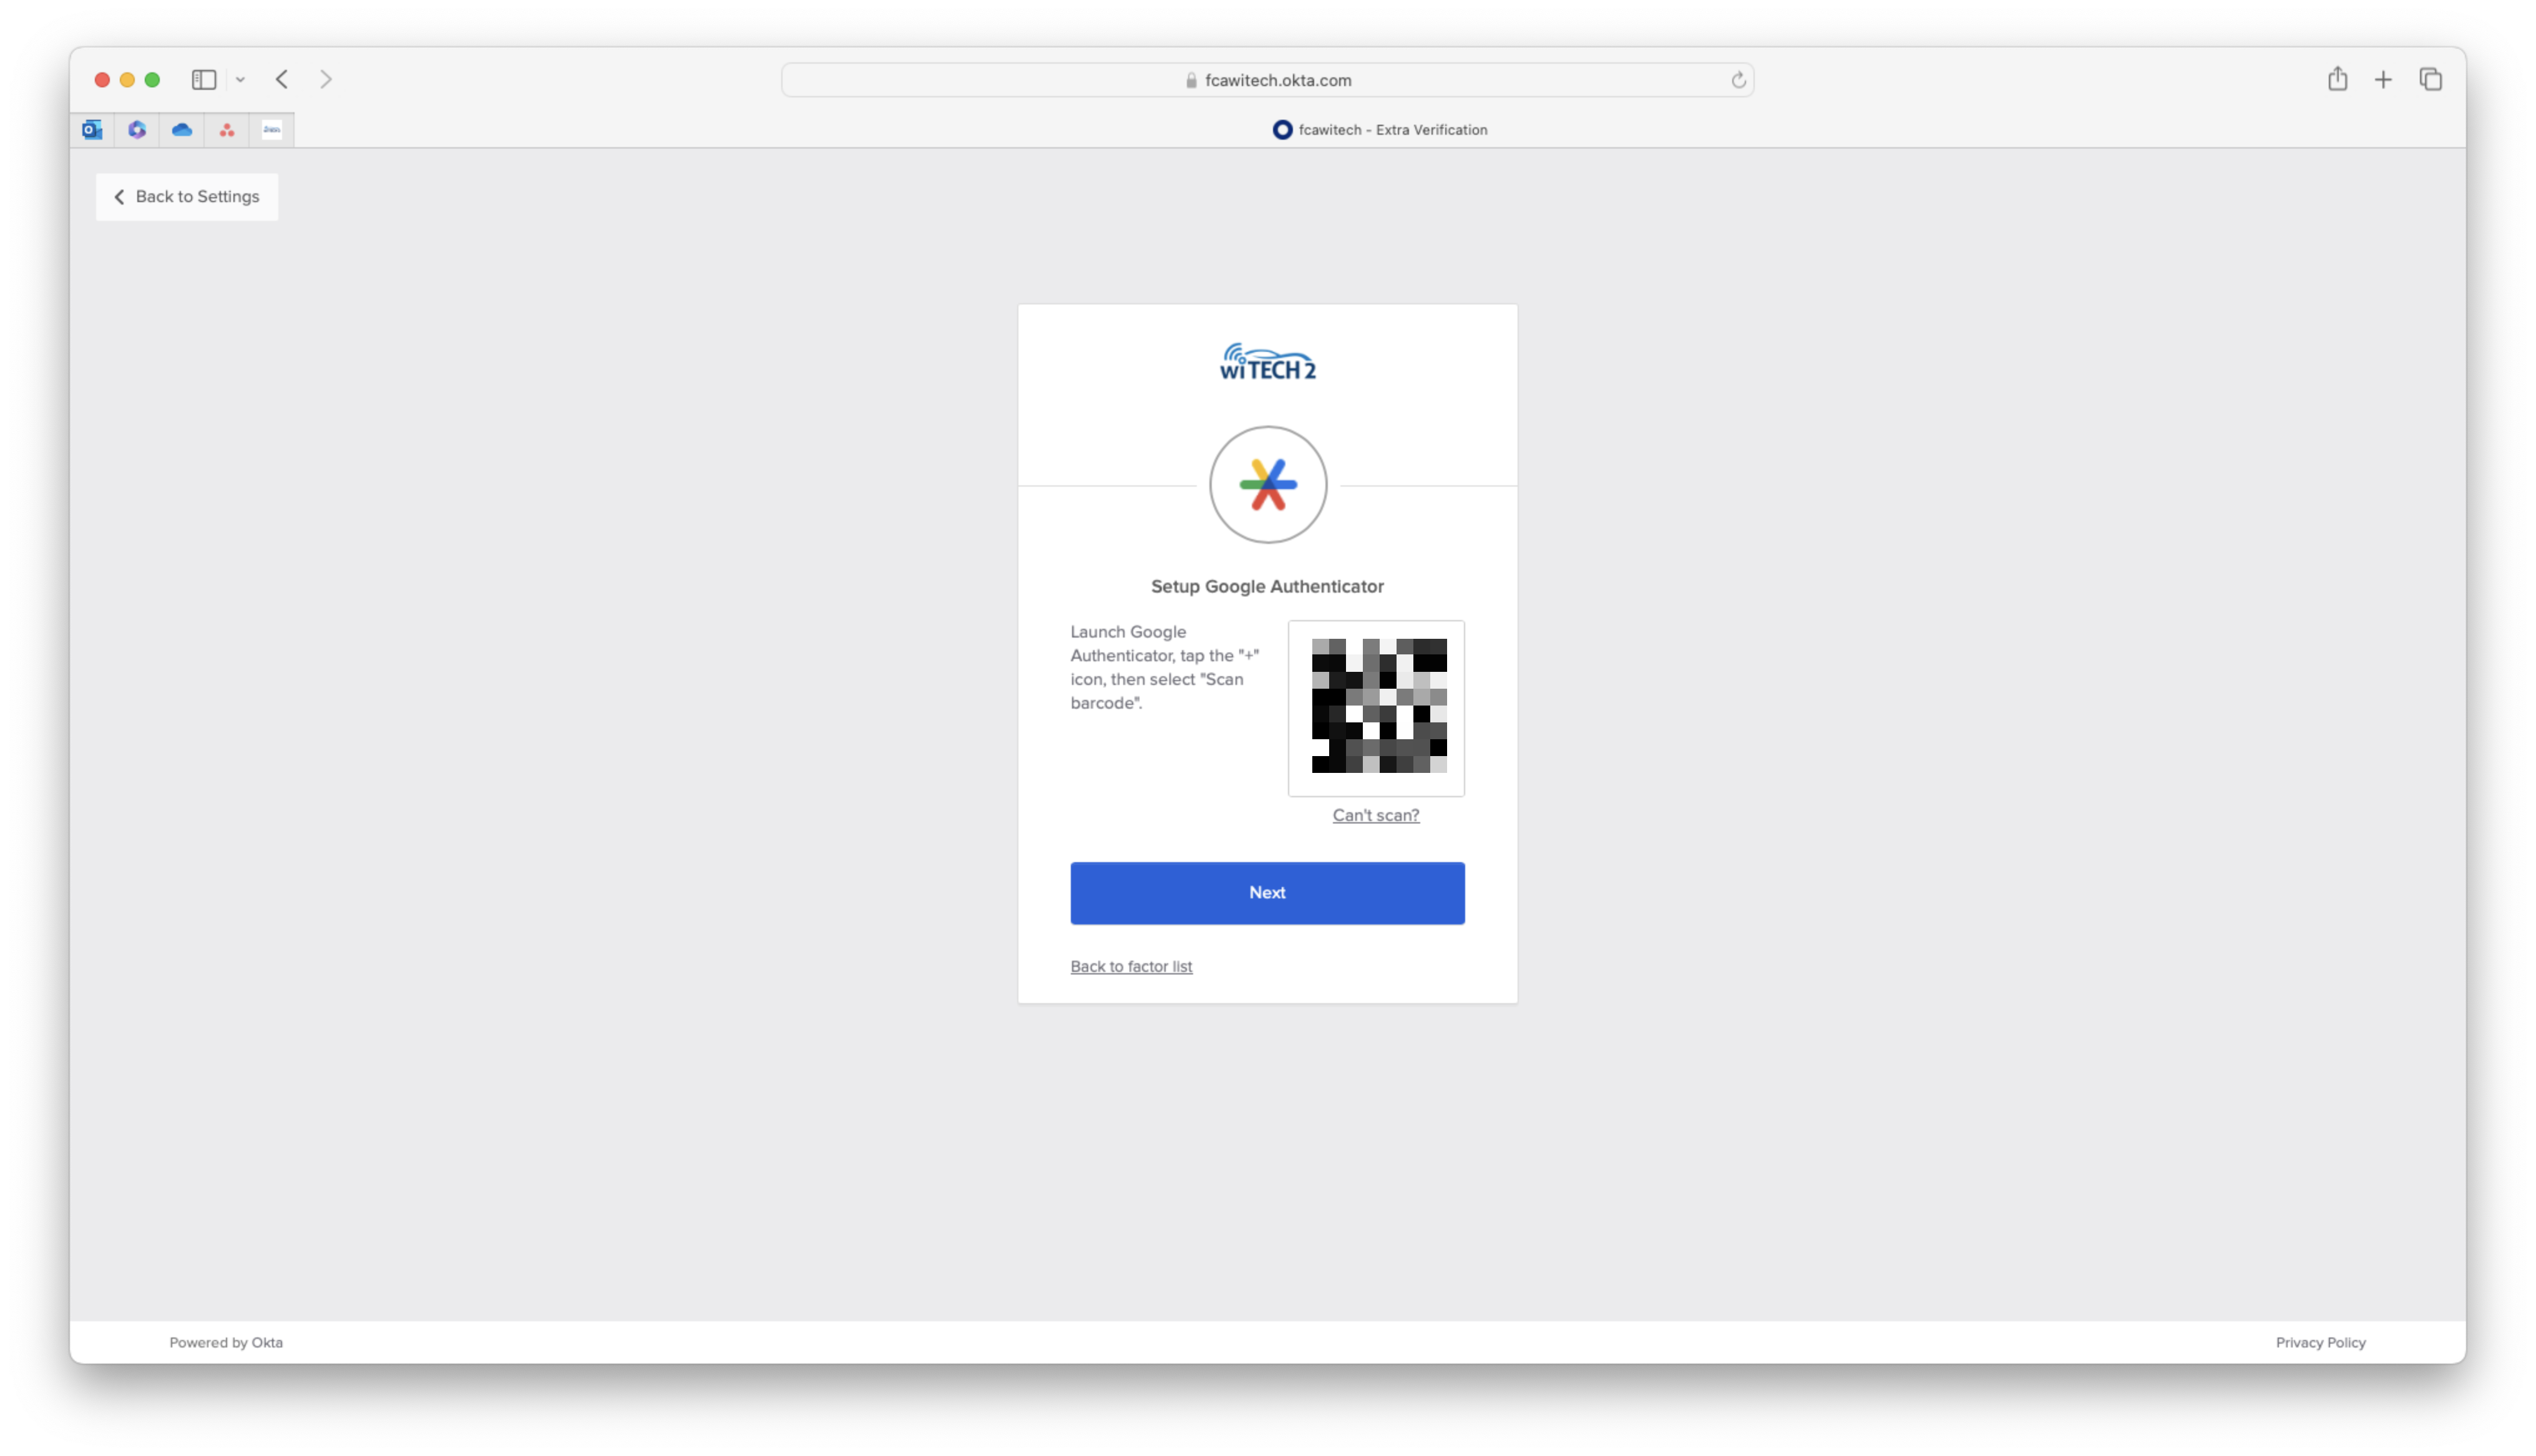
This article shows setup via Google Authenticator. Select “Setup” for Google Authenicator.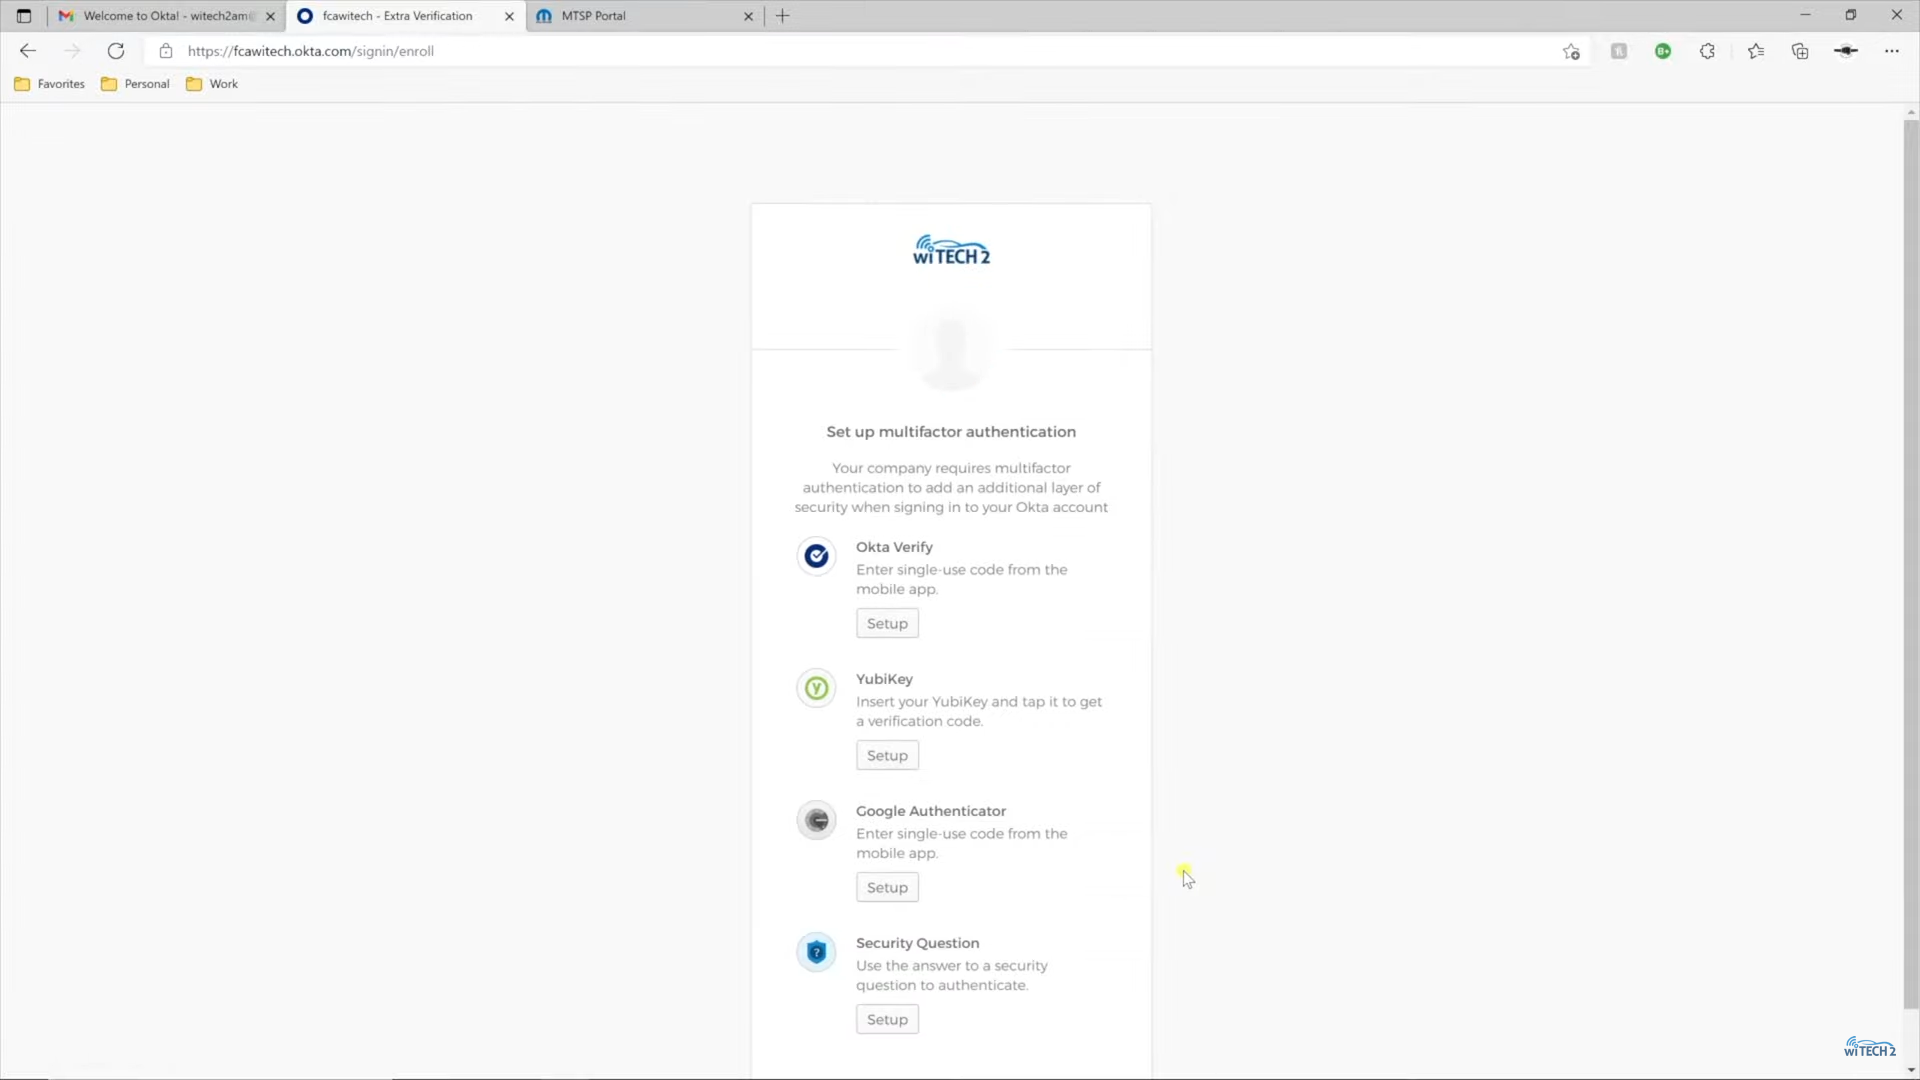
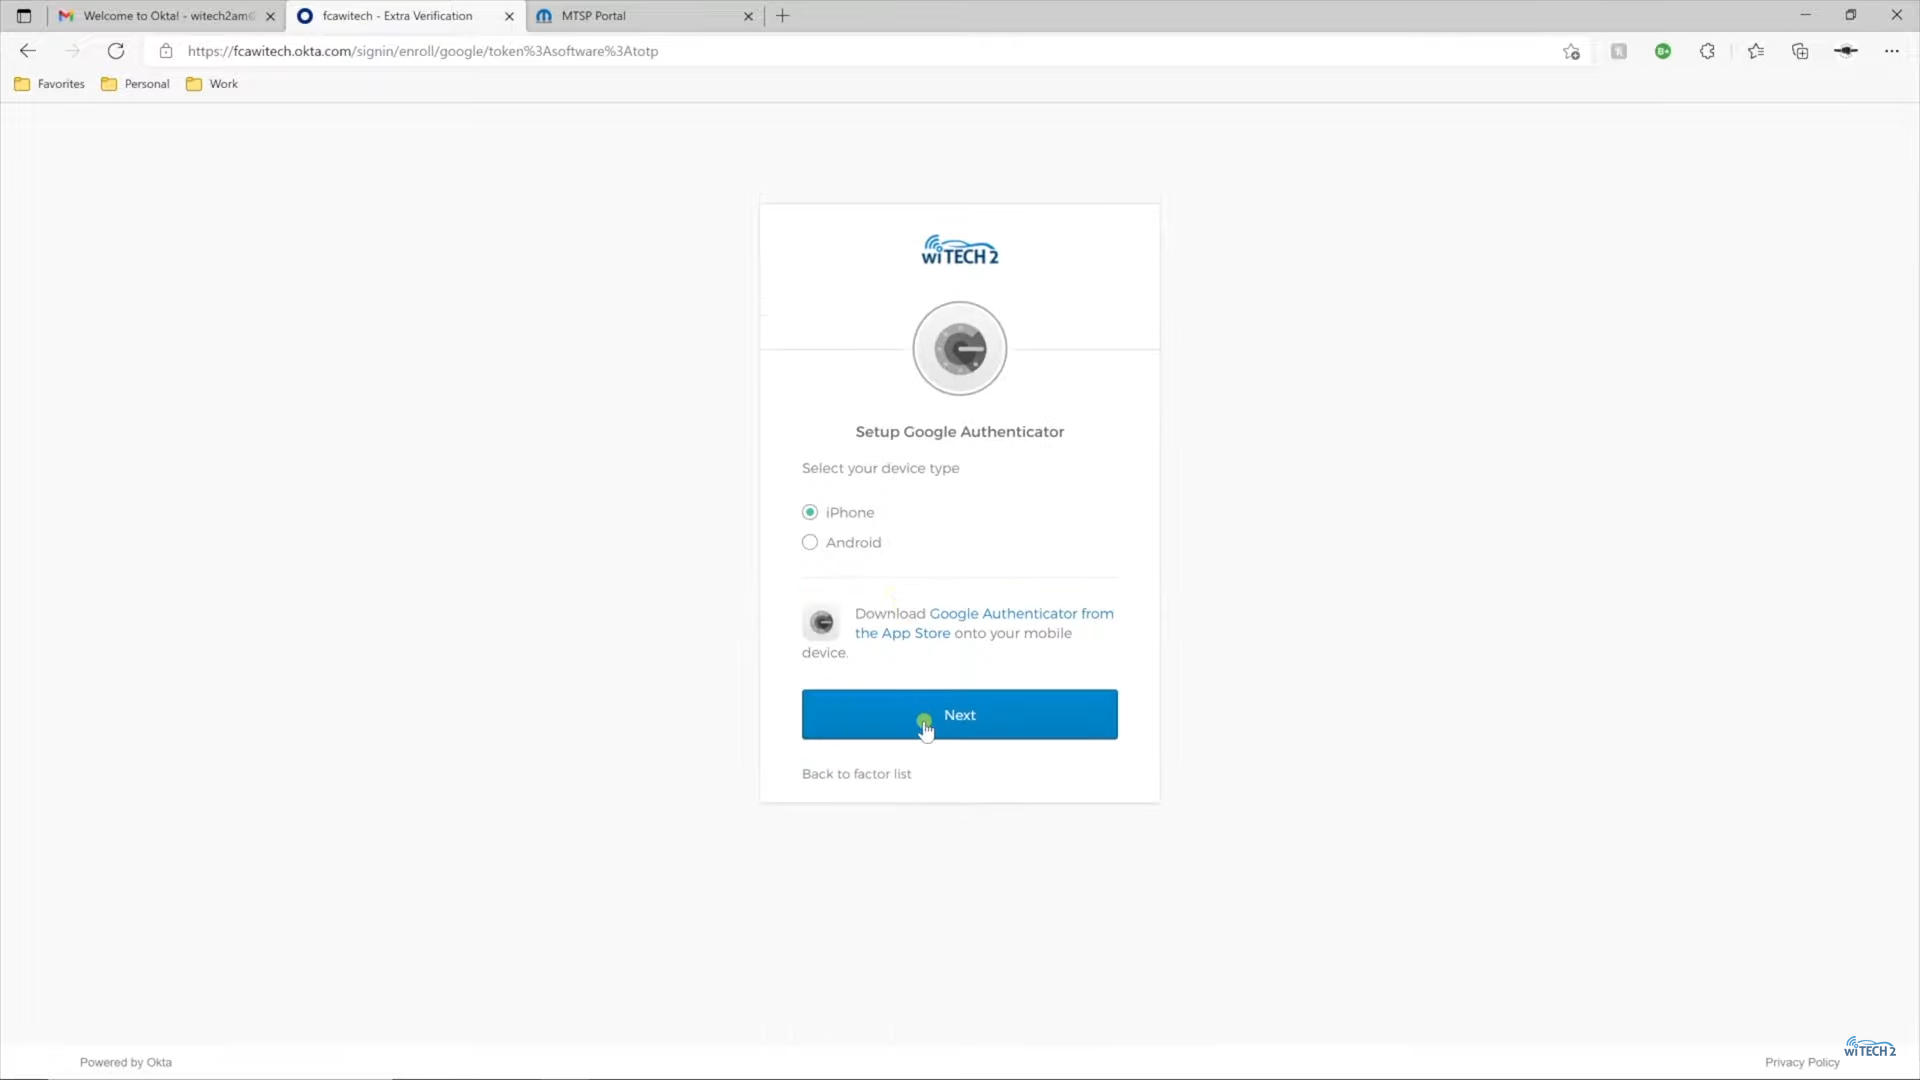
- Select the smartphone device type and select “Next”.
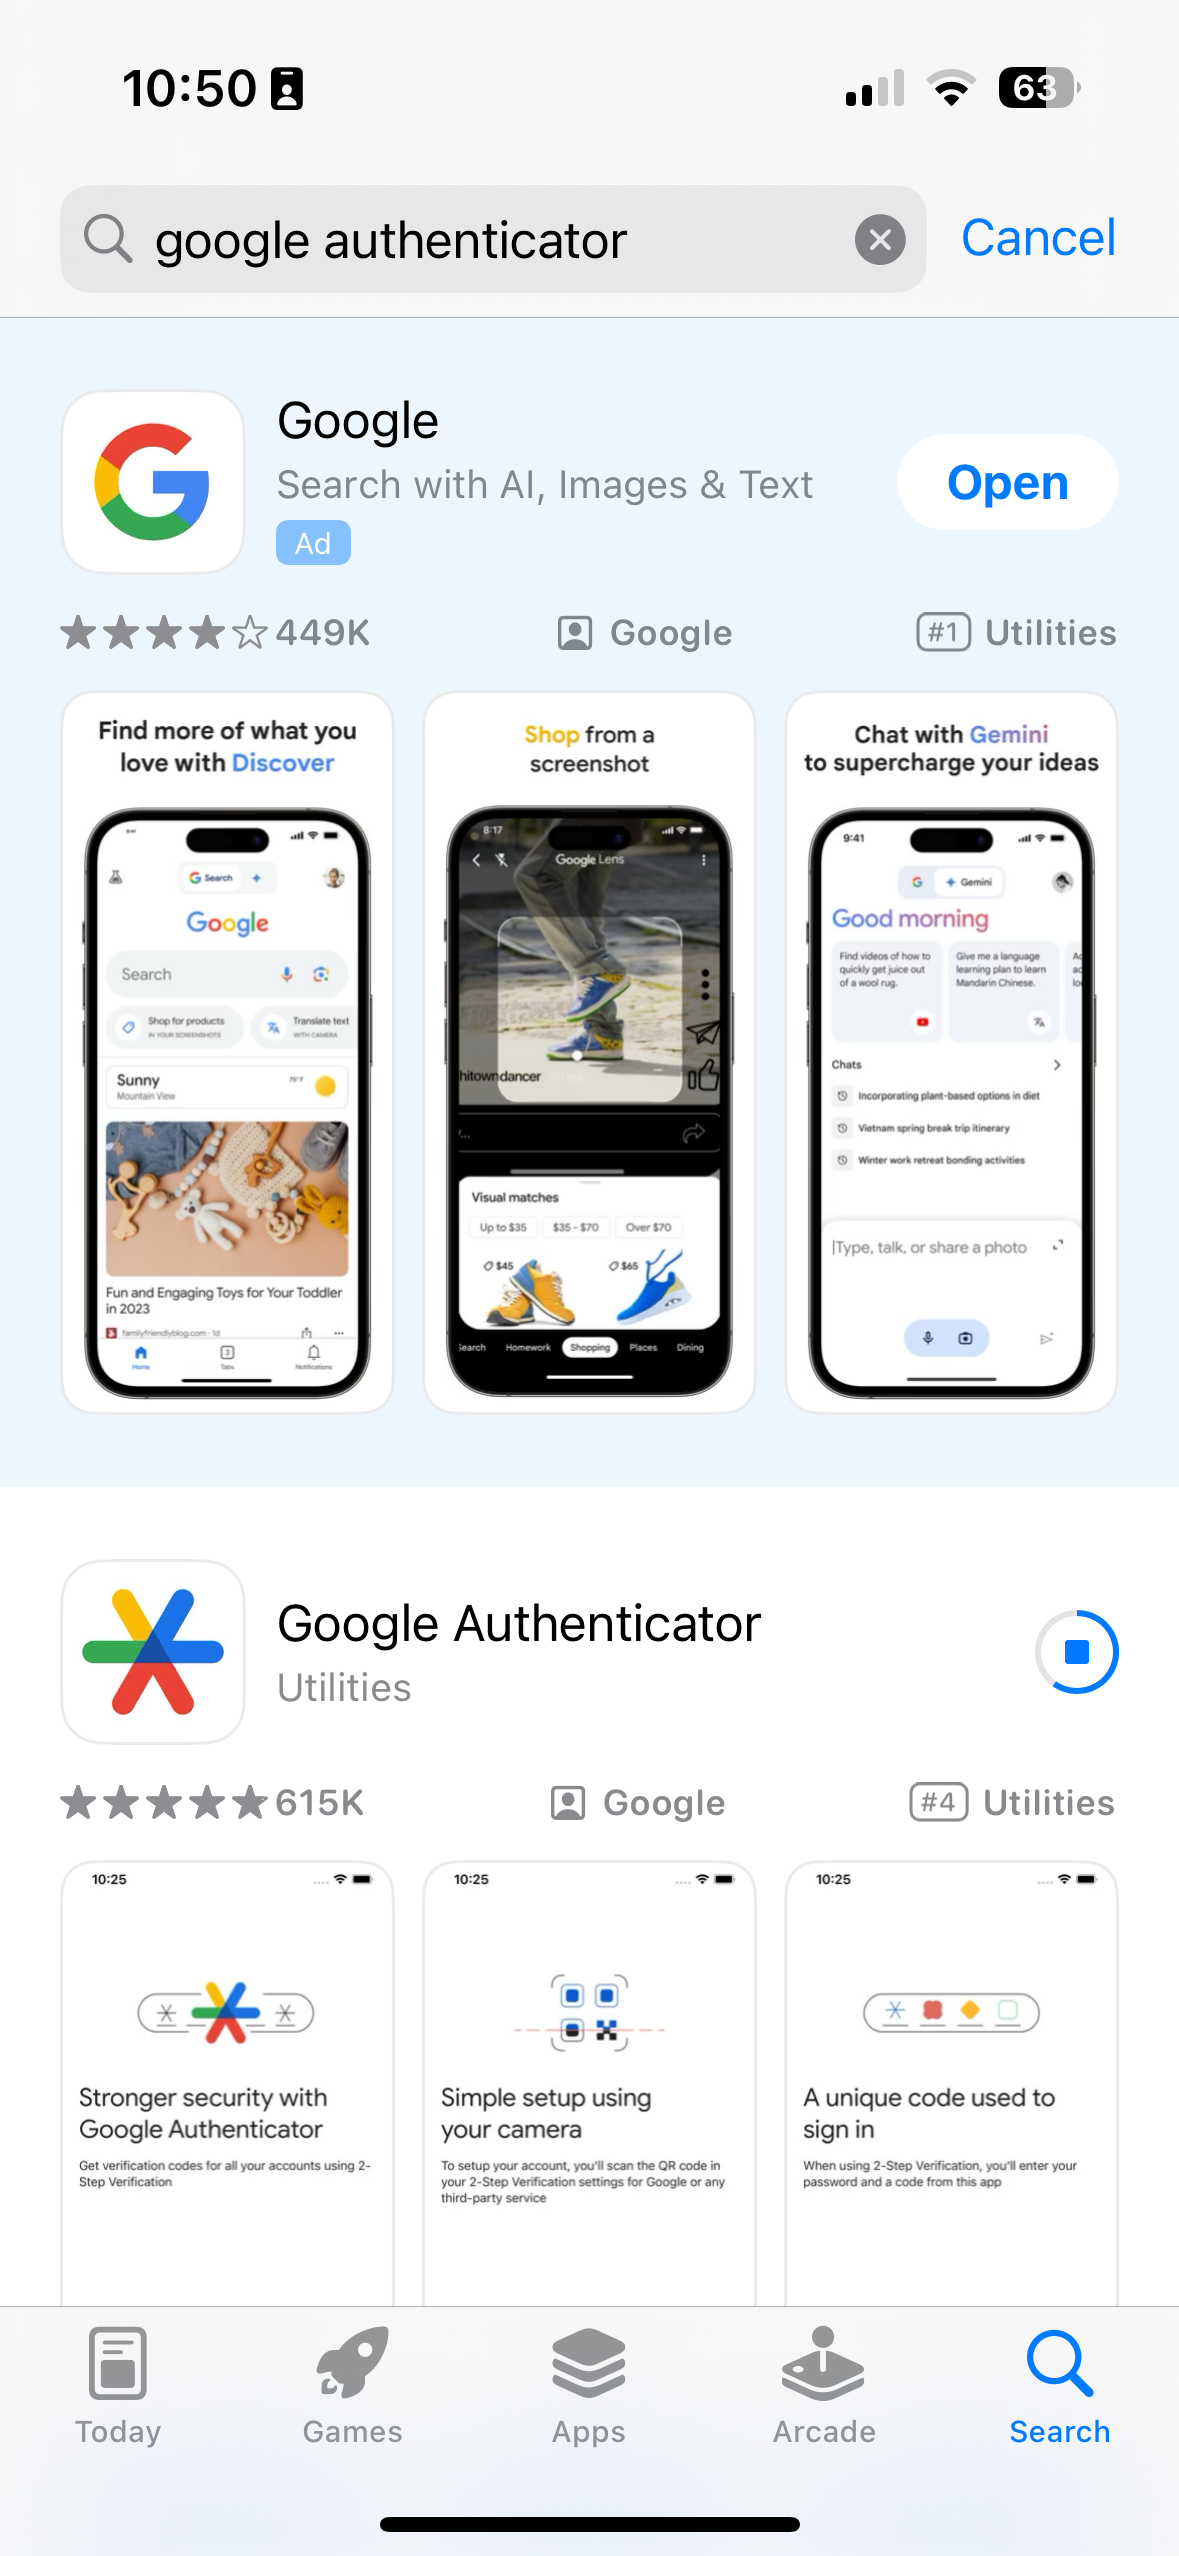
- From the smartphone install the “Google Authenticator” application.
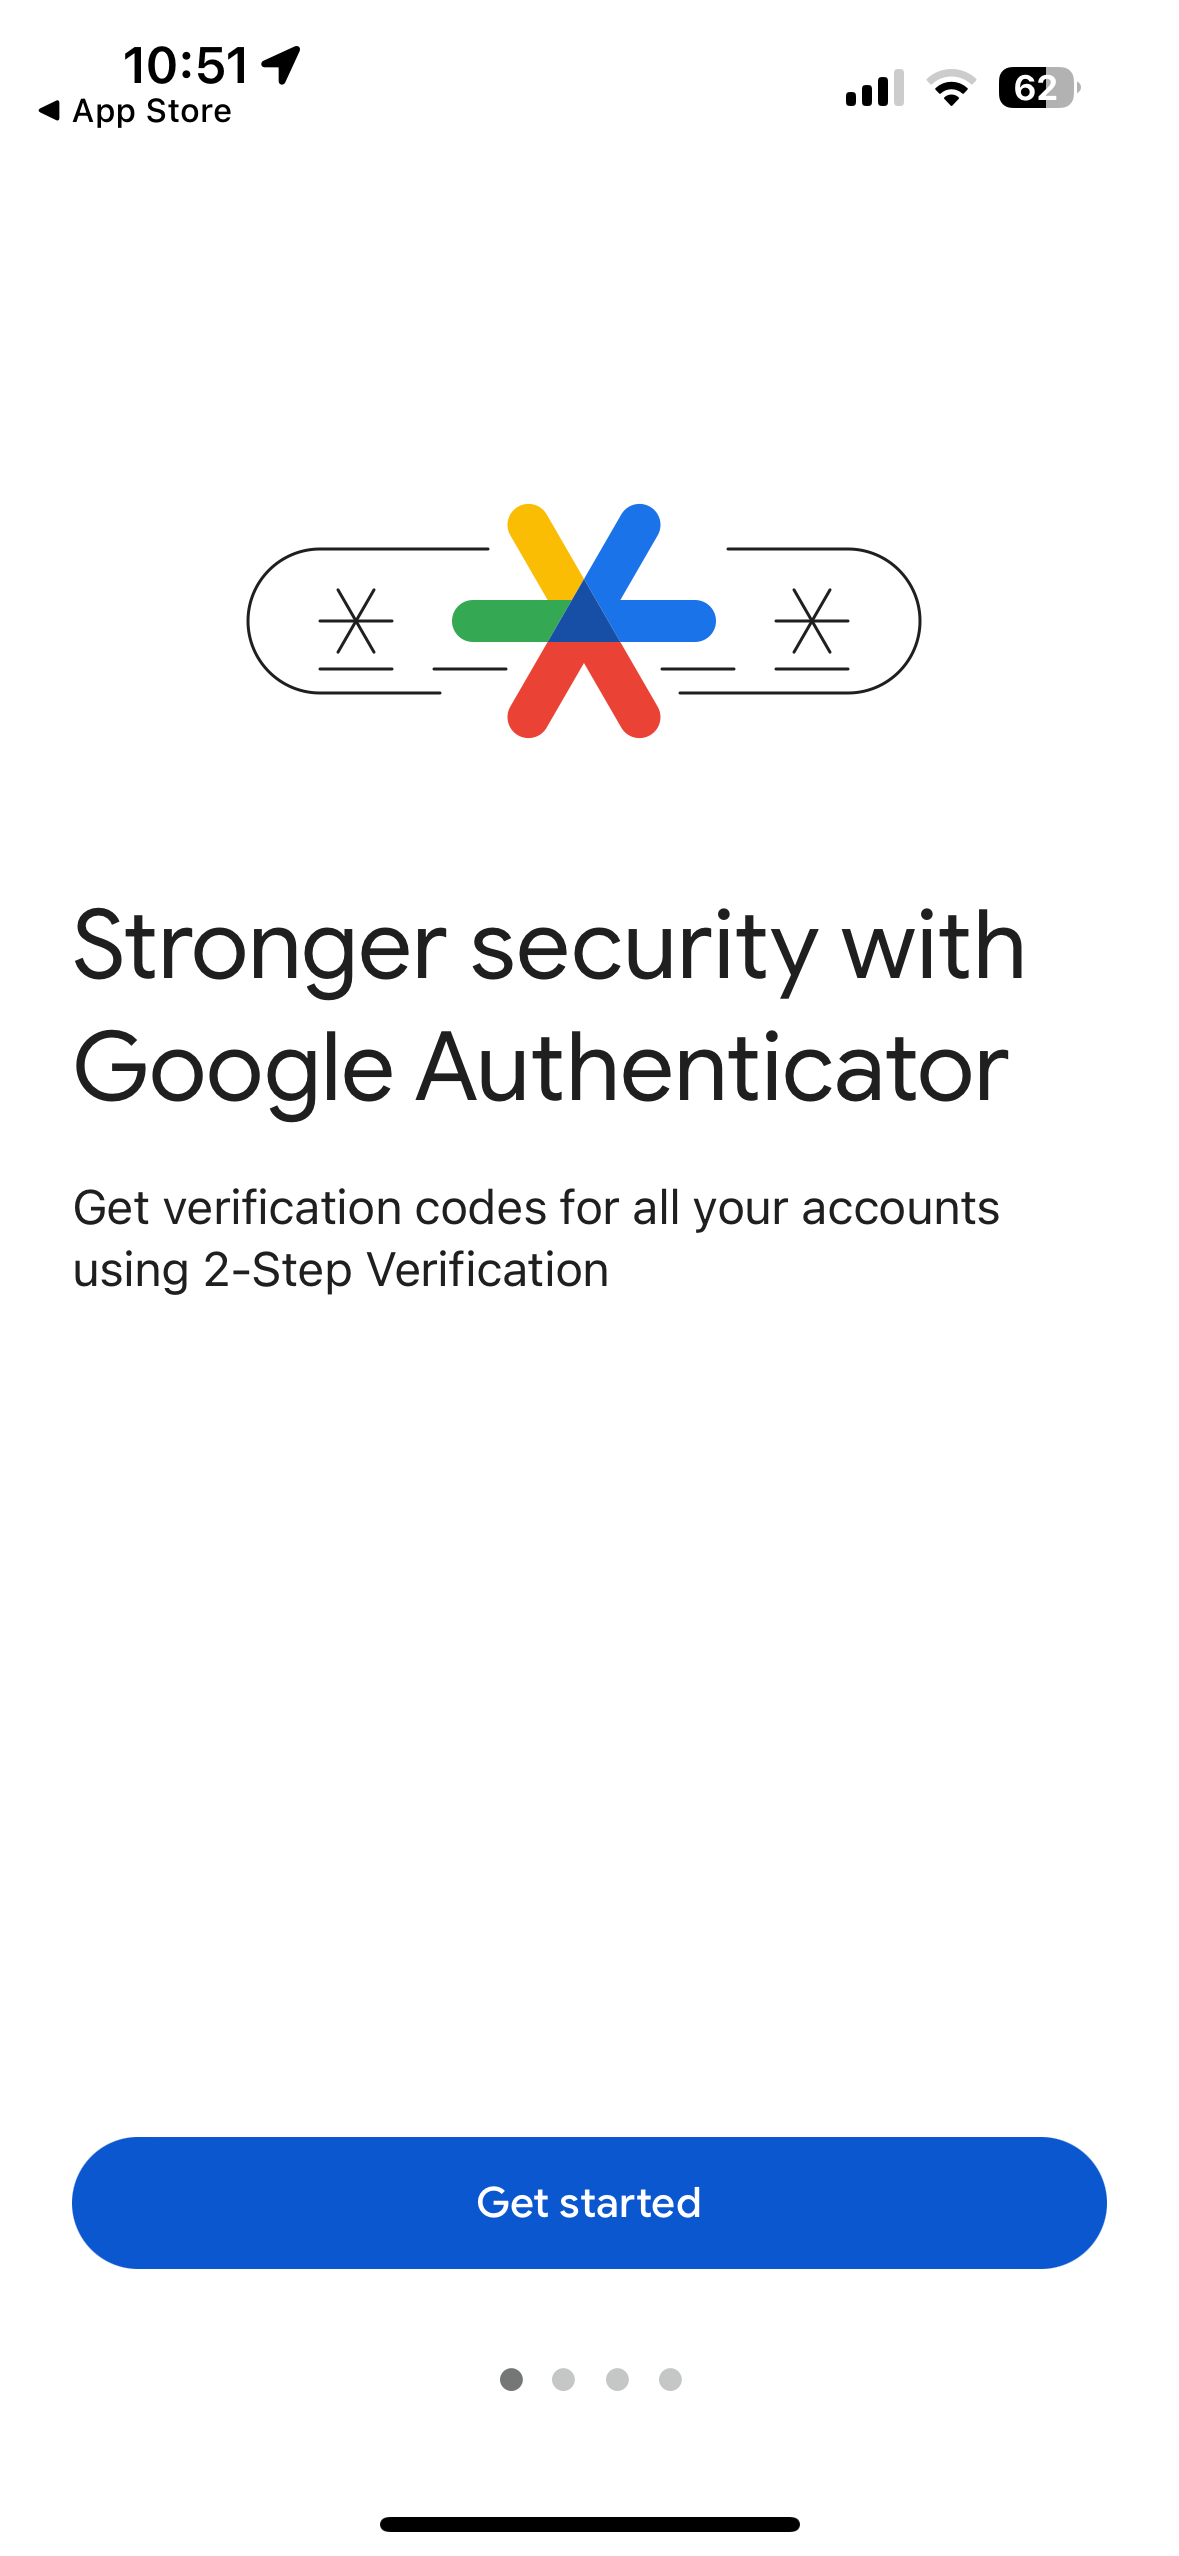
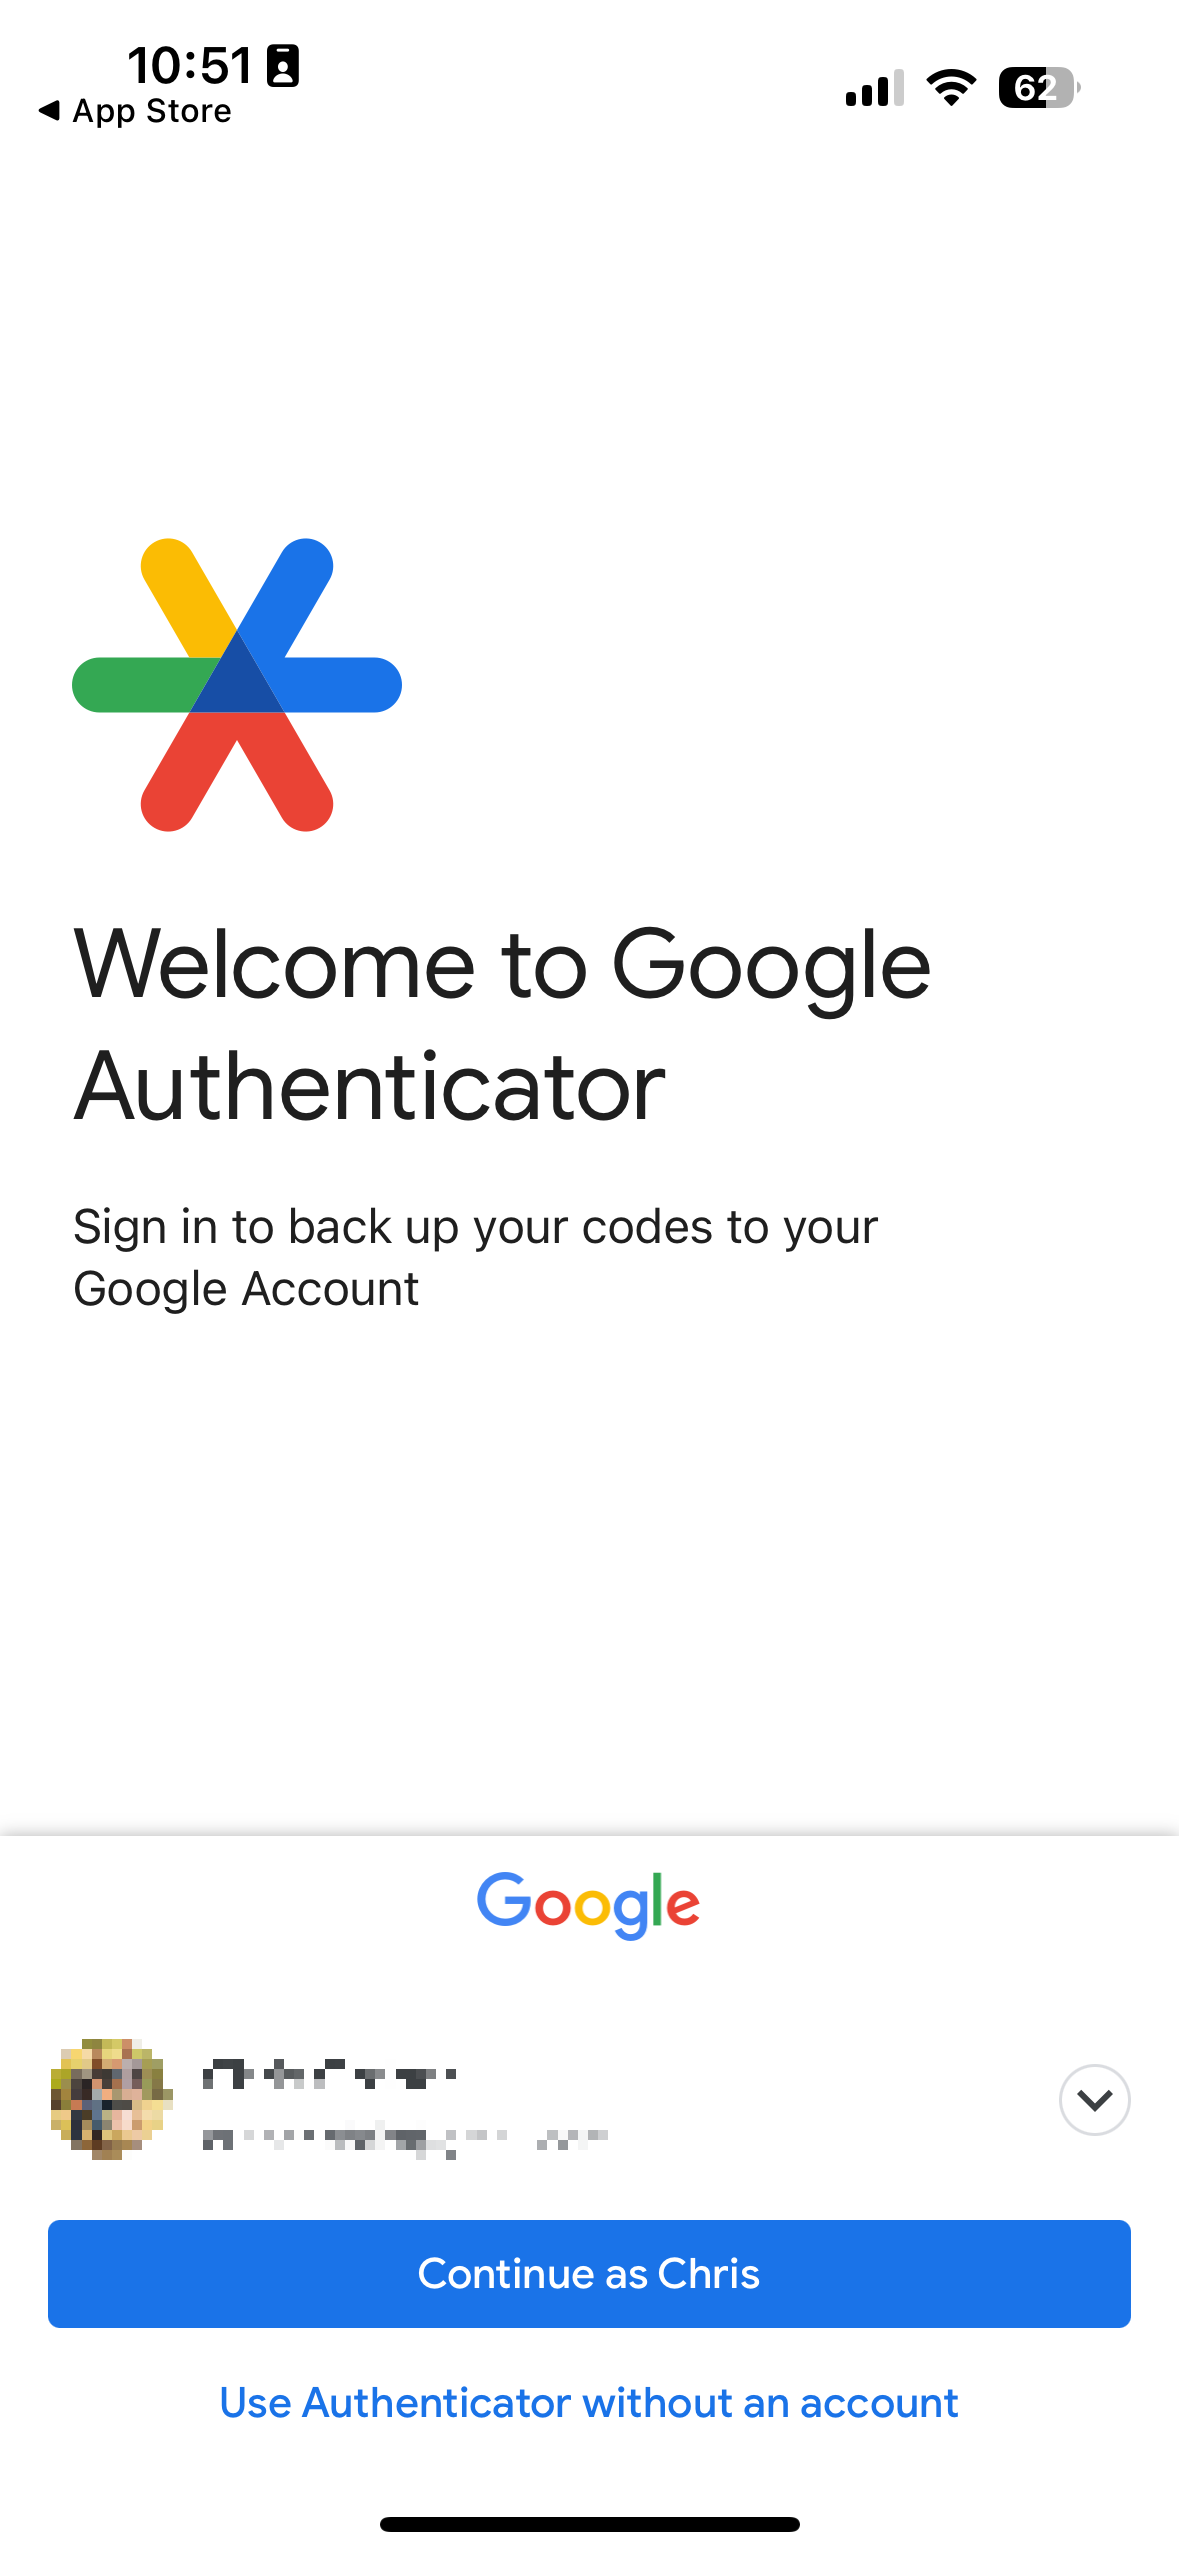
- From the smartphone, open the Google Authenticator application and select “Get Started”
- From the smartphone, either login with a Google account, or select “Use Authenticator without an account”
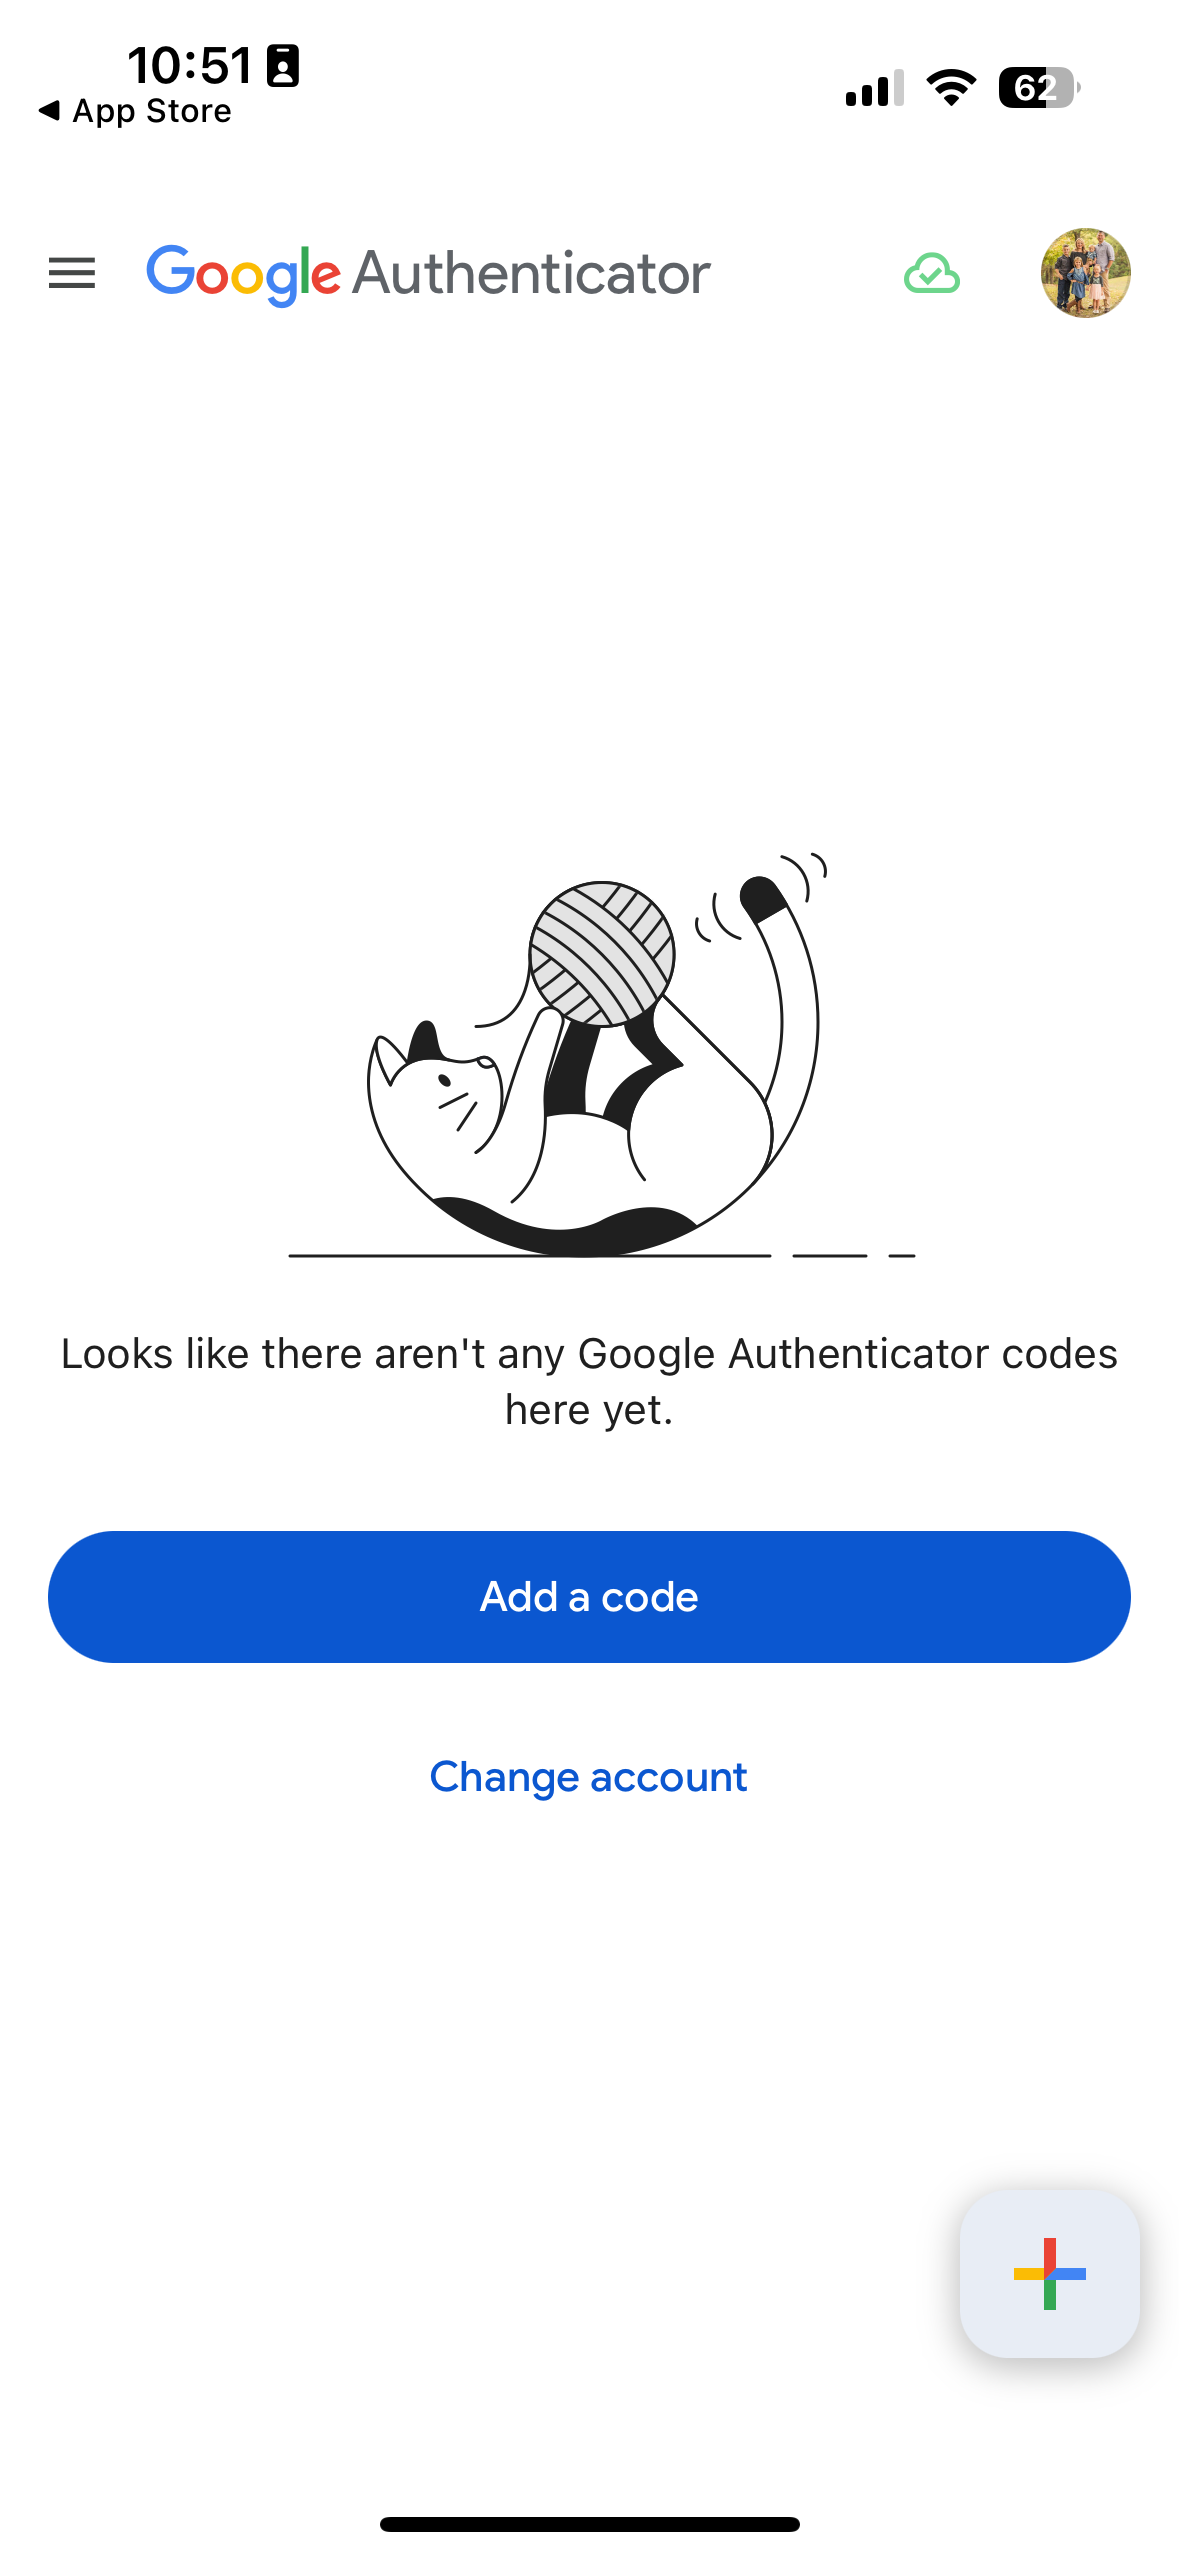
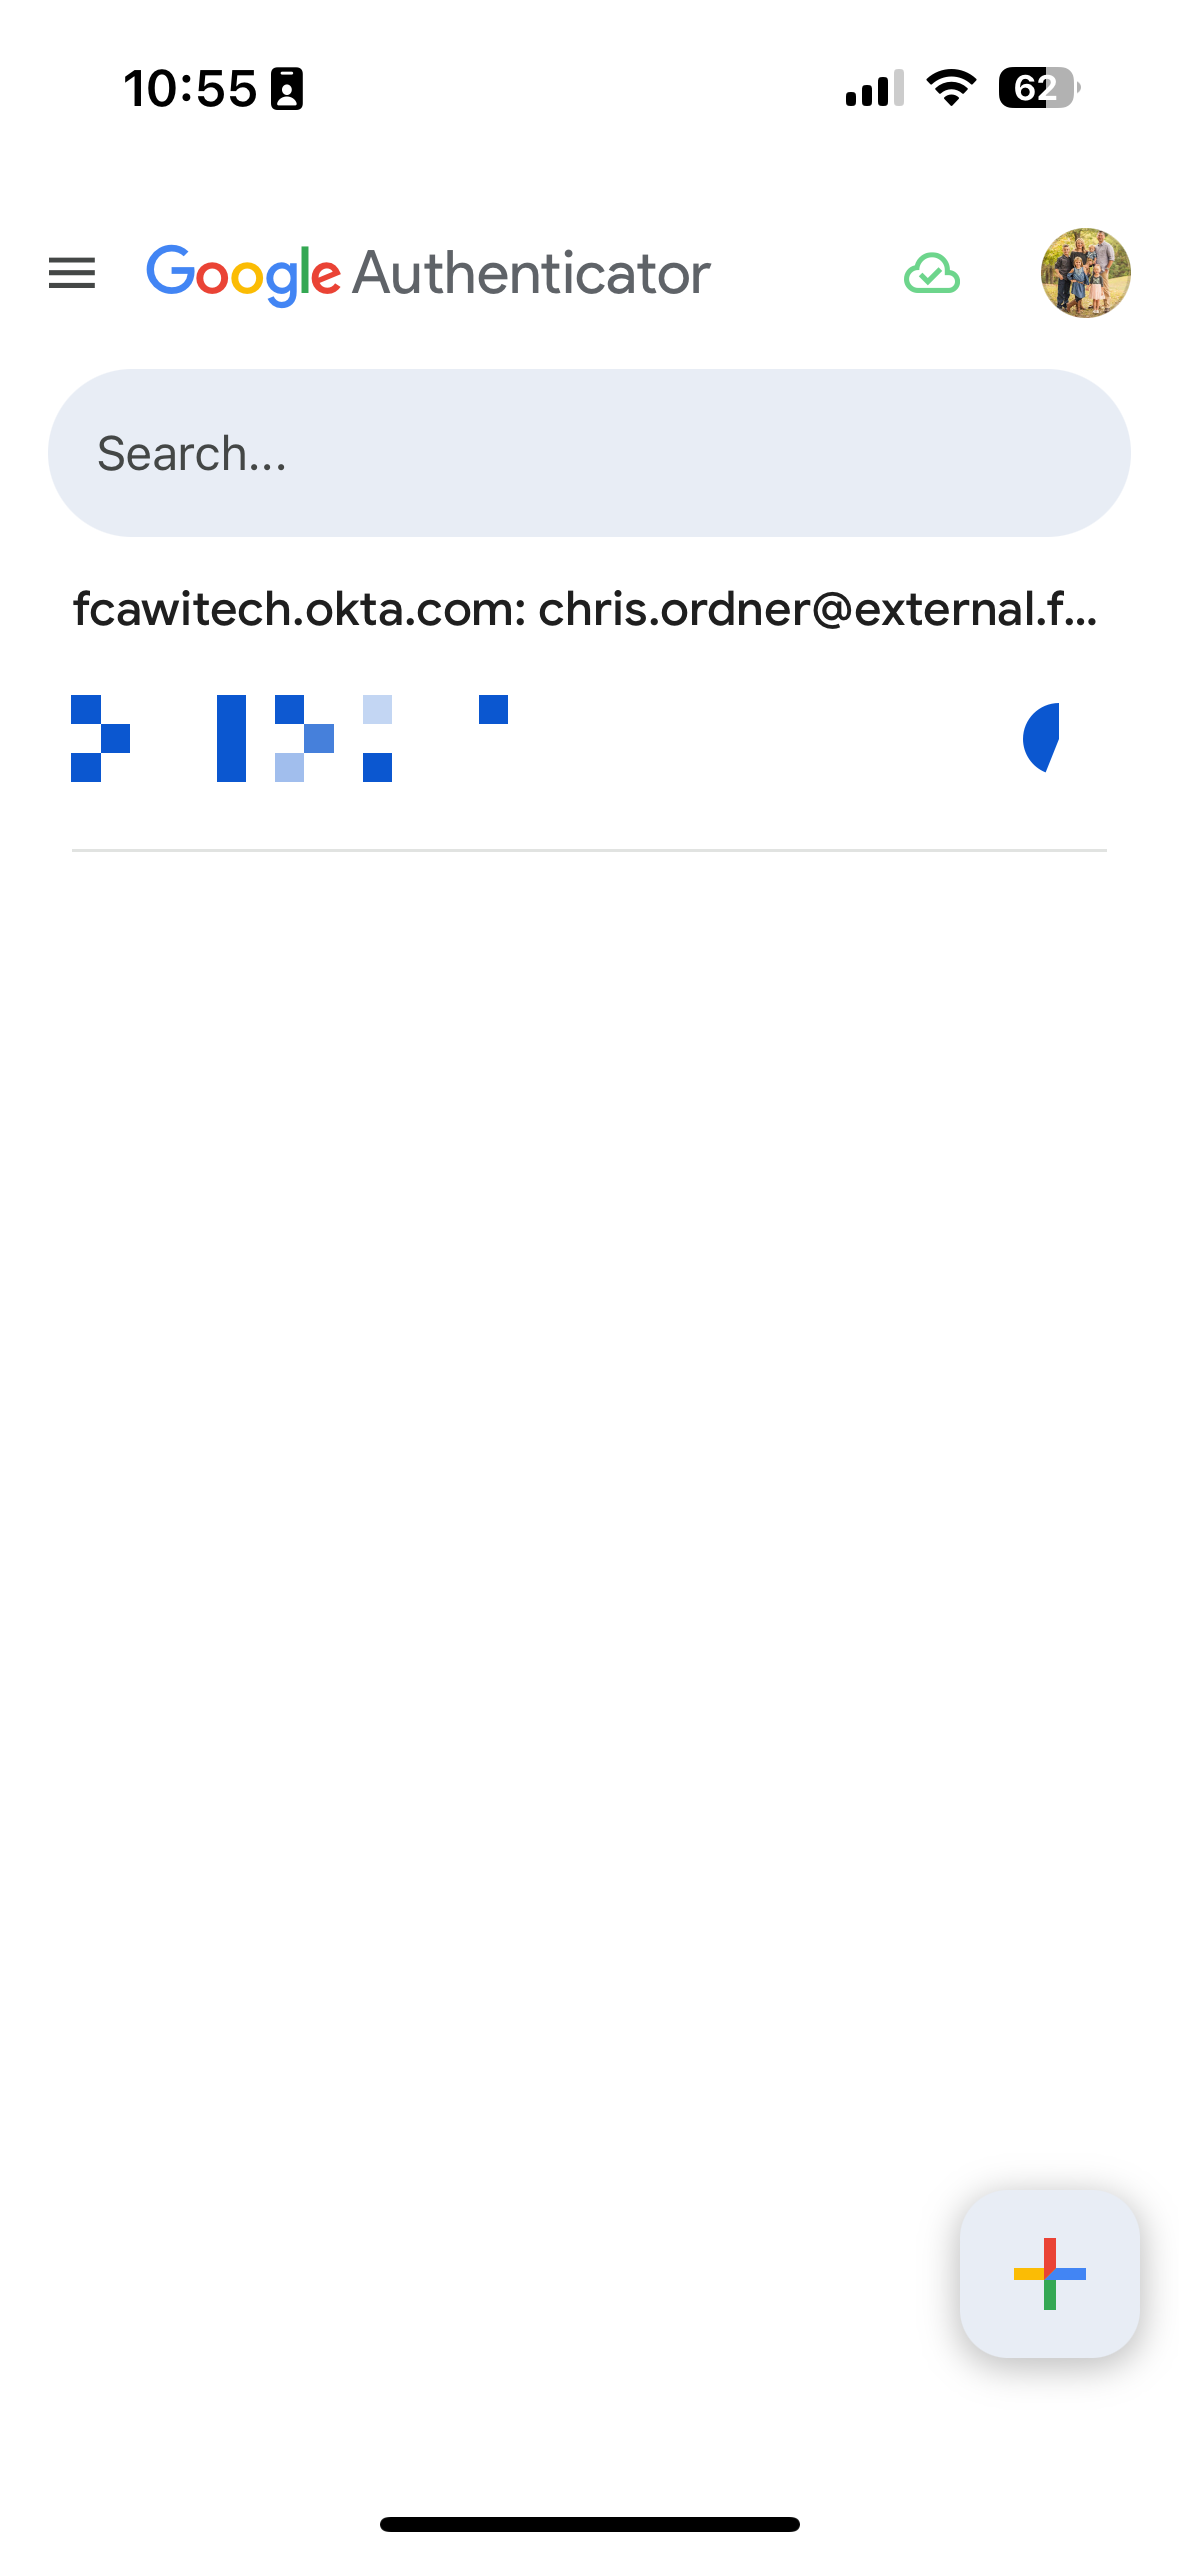
- From the smartphone, select “Add a code”
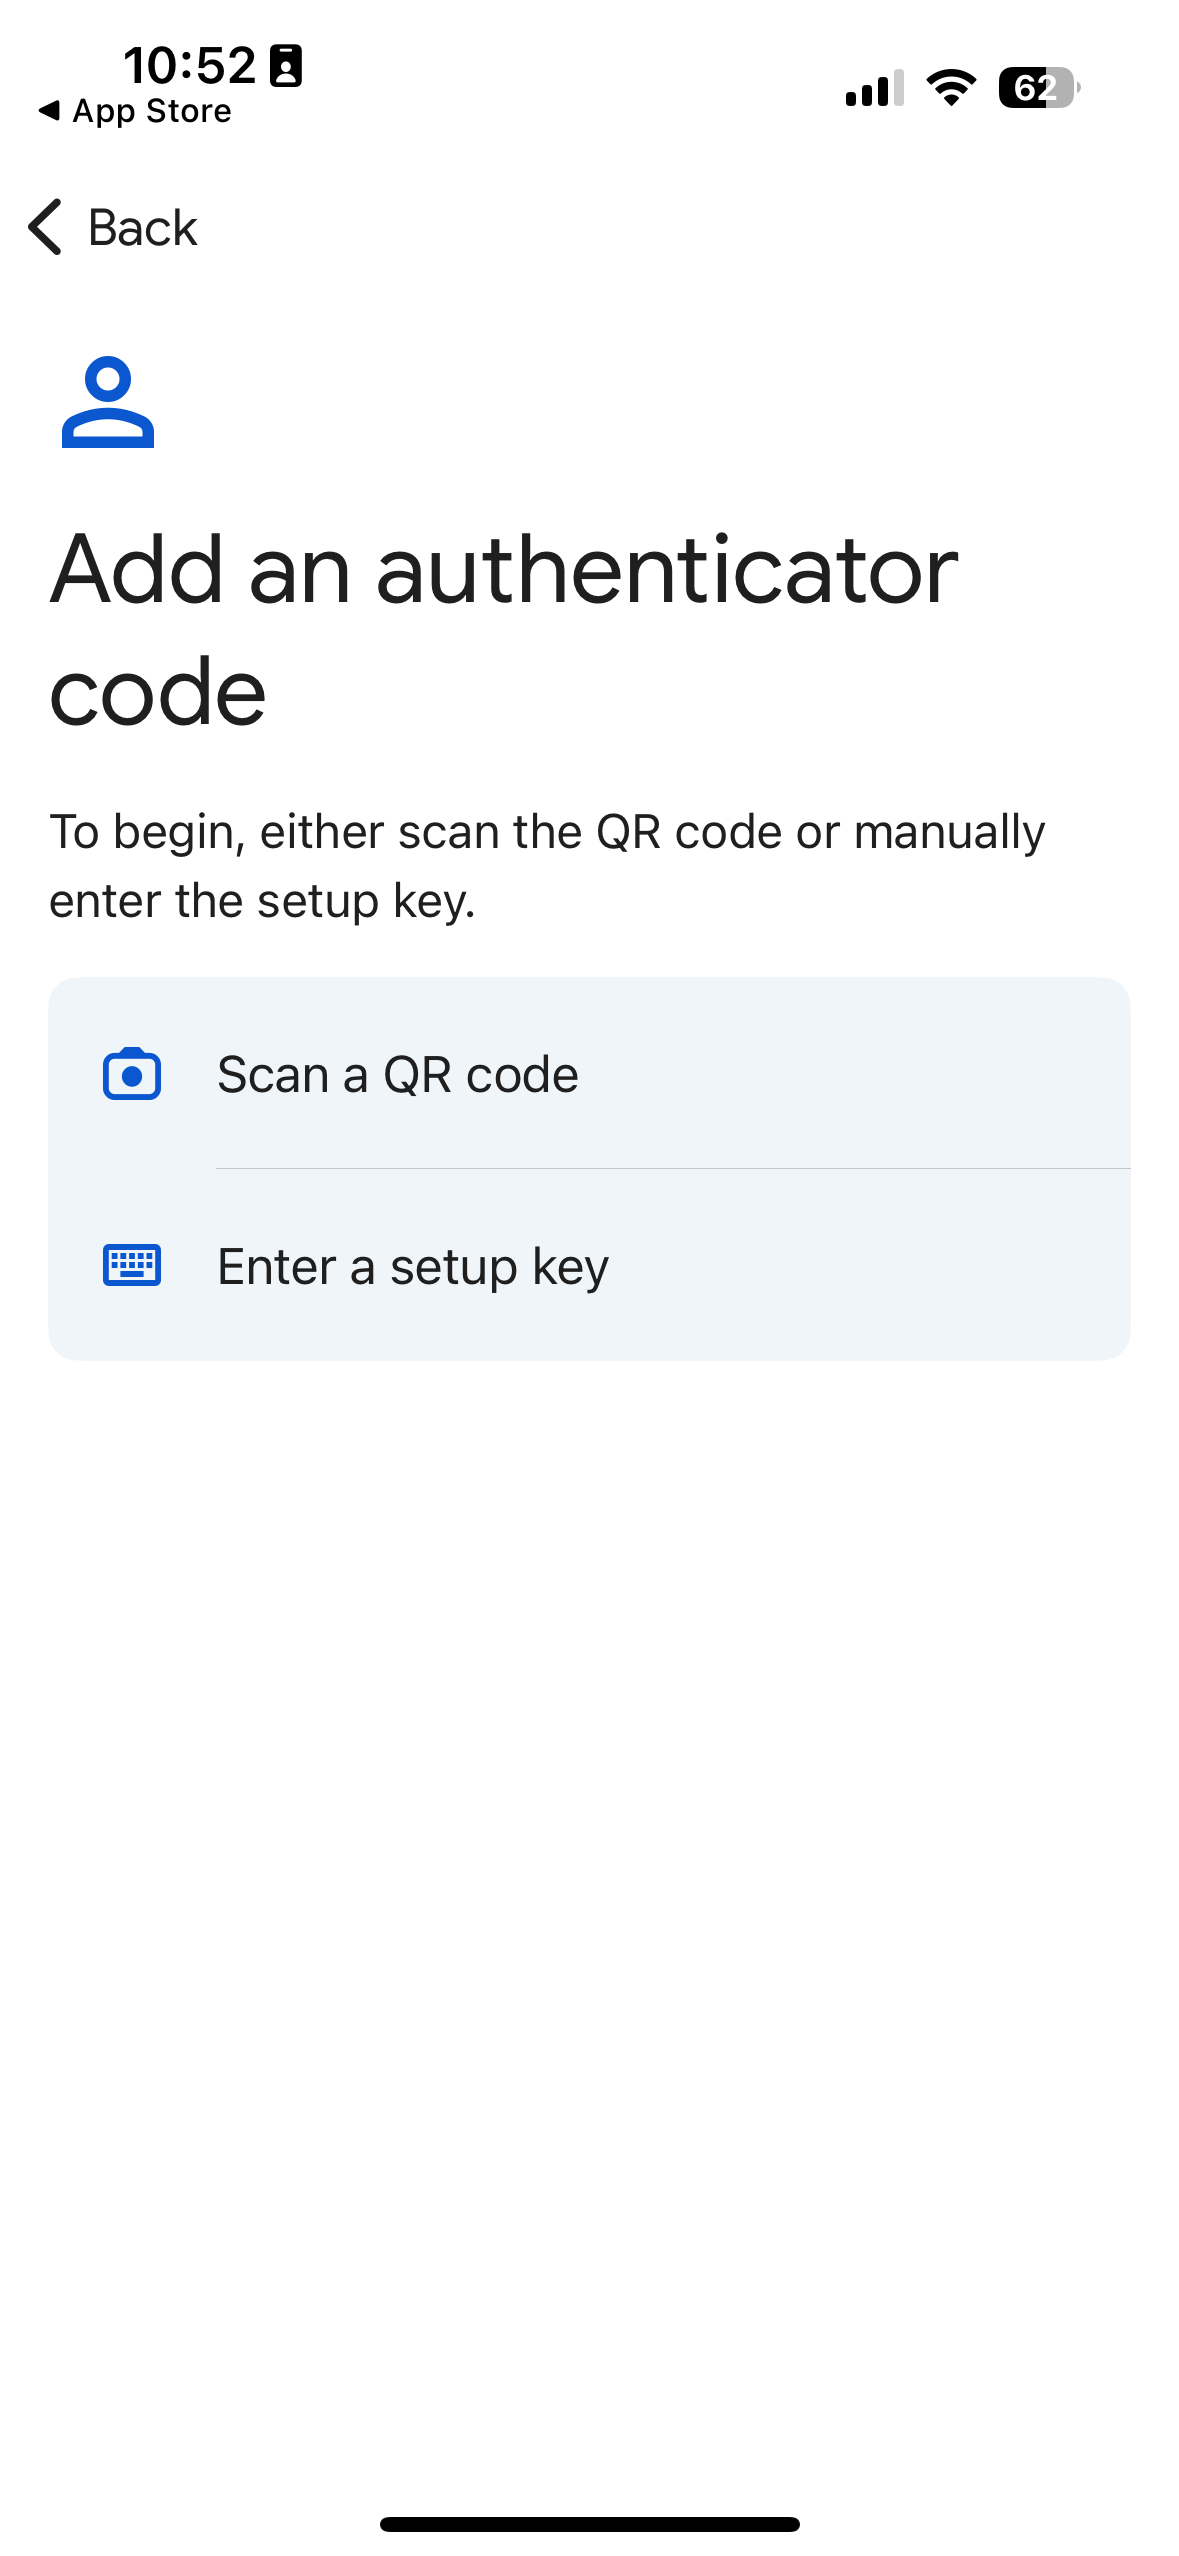
- From the smartphone, select “Scan a QR code”
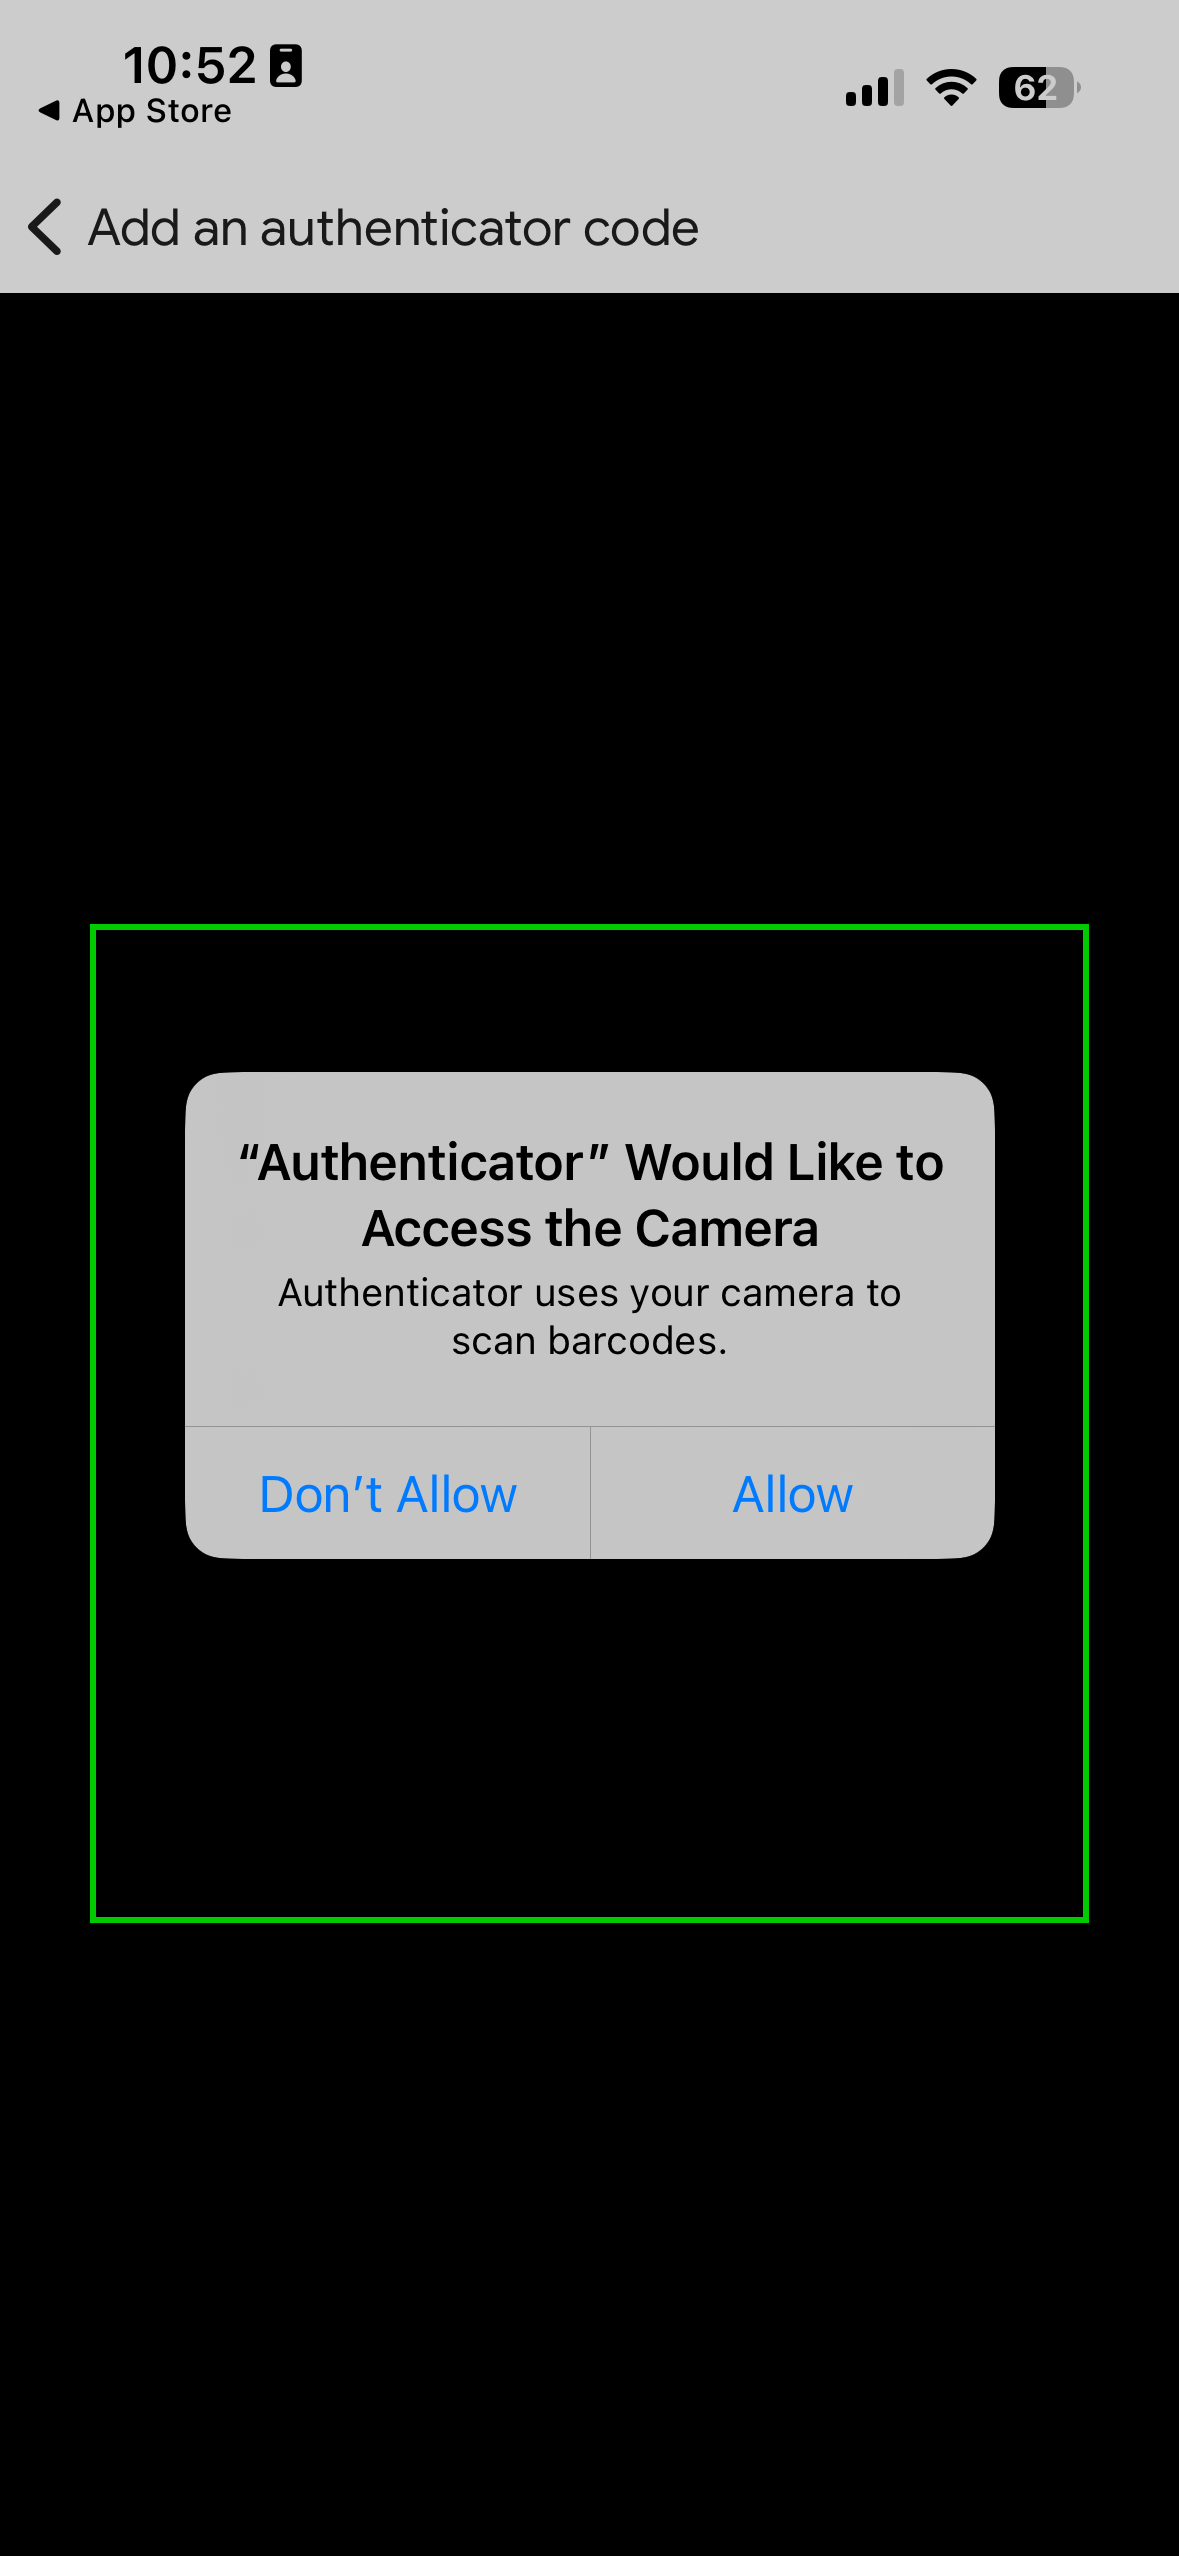
- From the smartphone, select “Allow” to give Google Authenticator permission to use the smartphone camera.
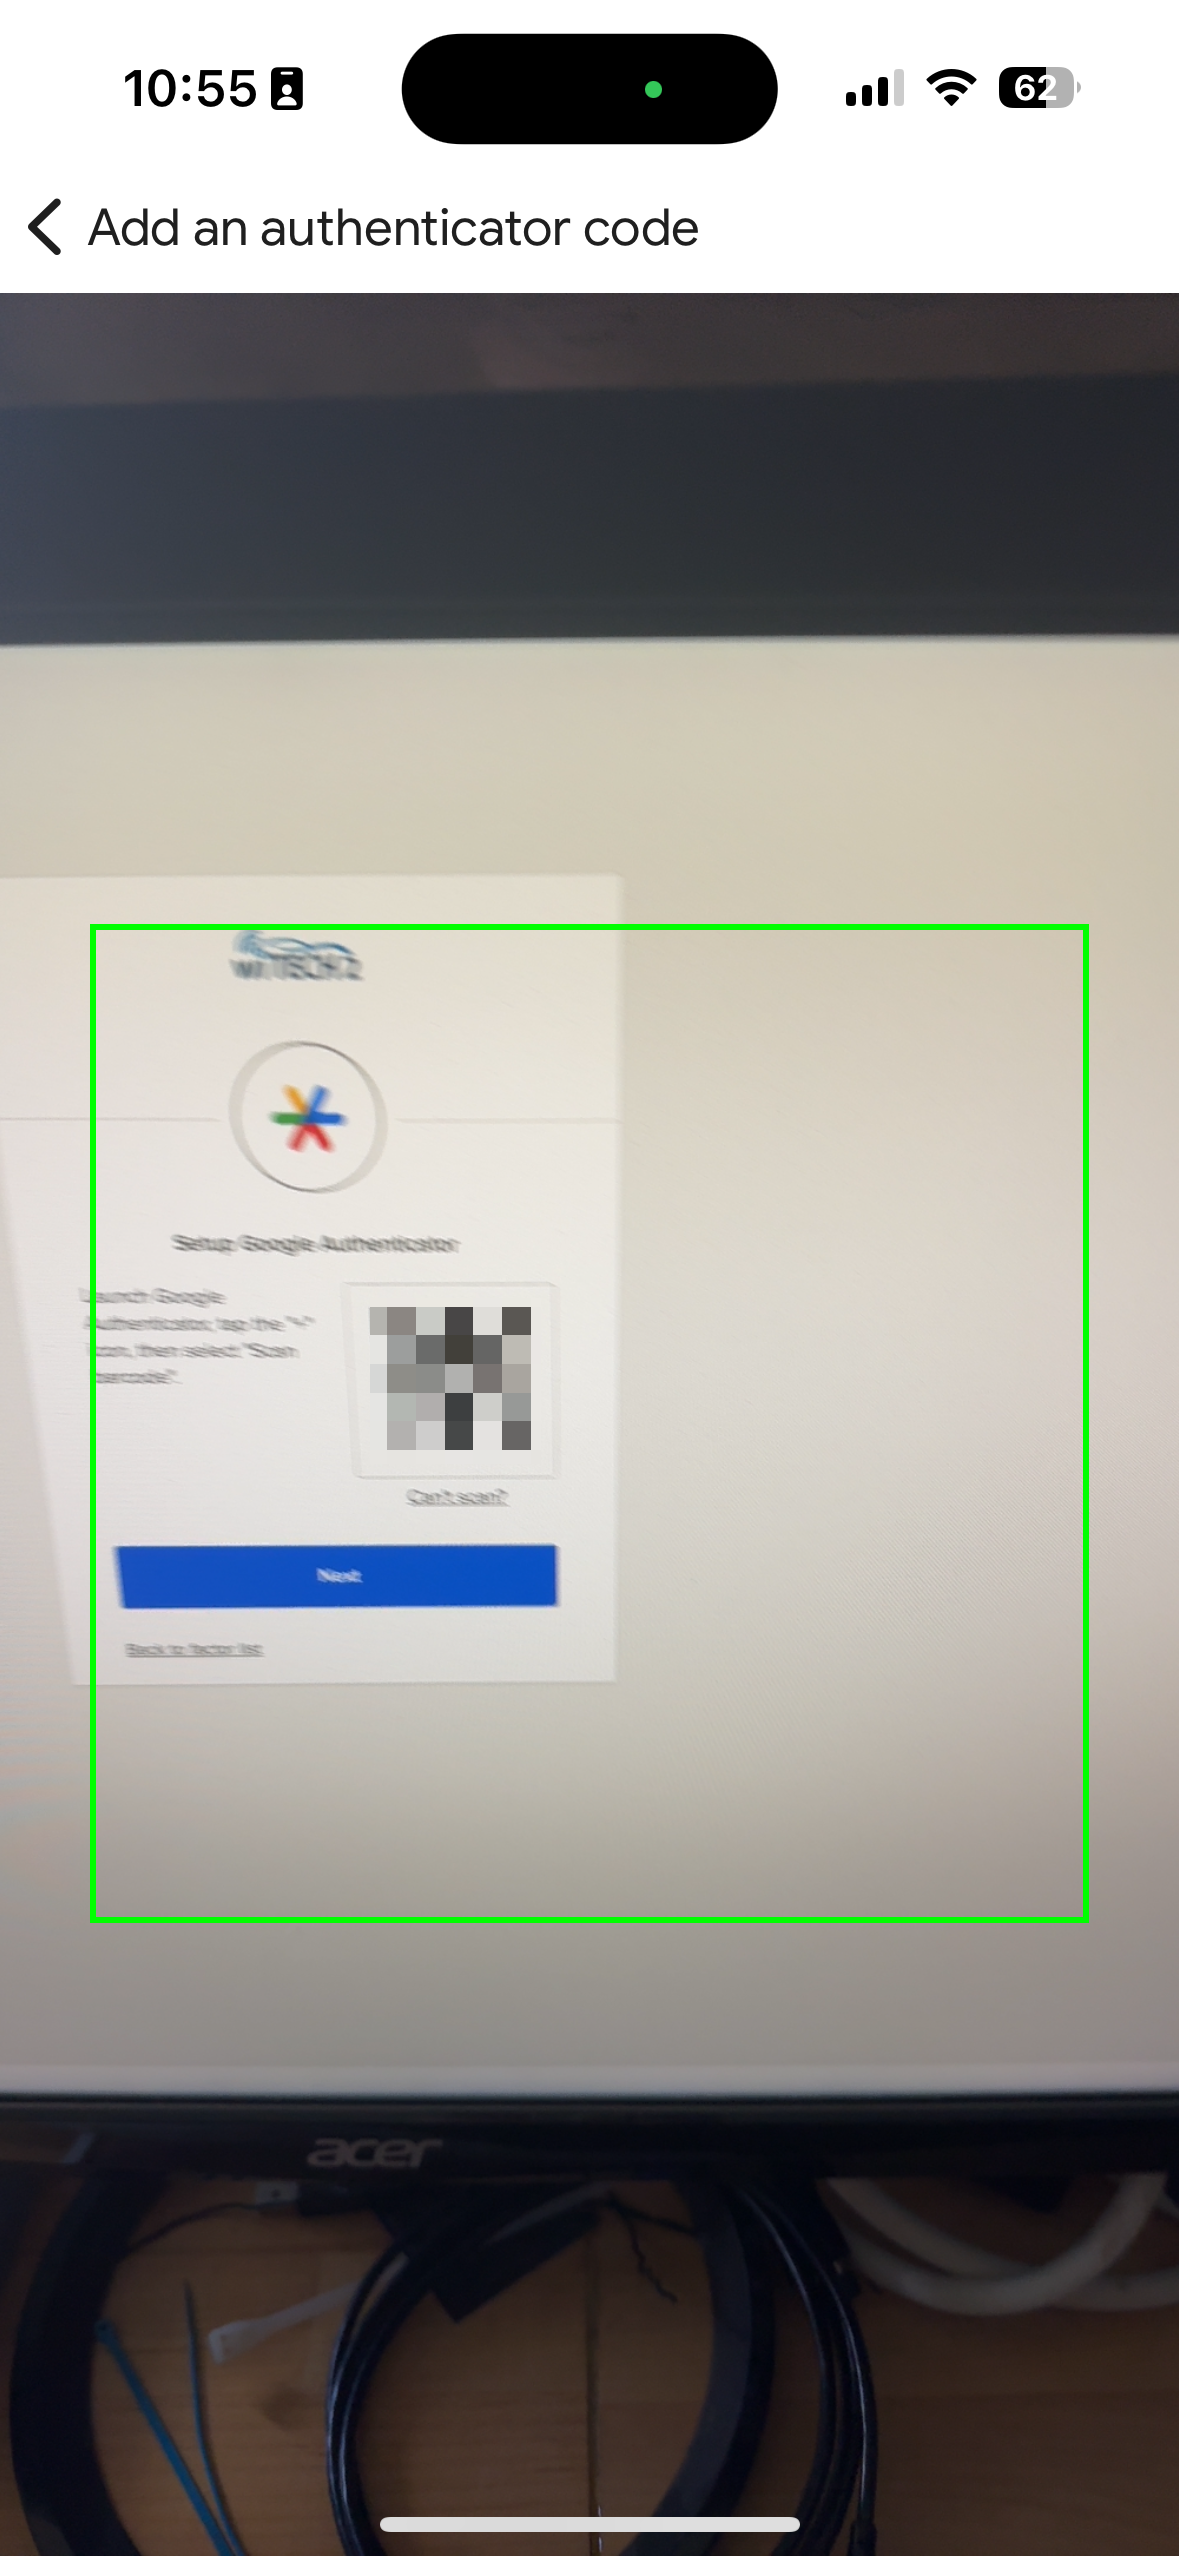
- Using the smartphone, scan the QR Code on the PC screen.
- On the PC, select “Next”
- Using Google Authenticator on the smartphone, enter the code on the PC and select “Verify”
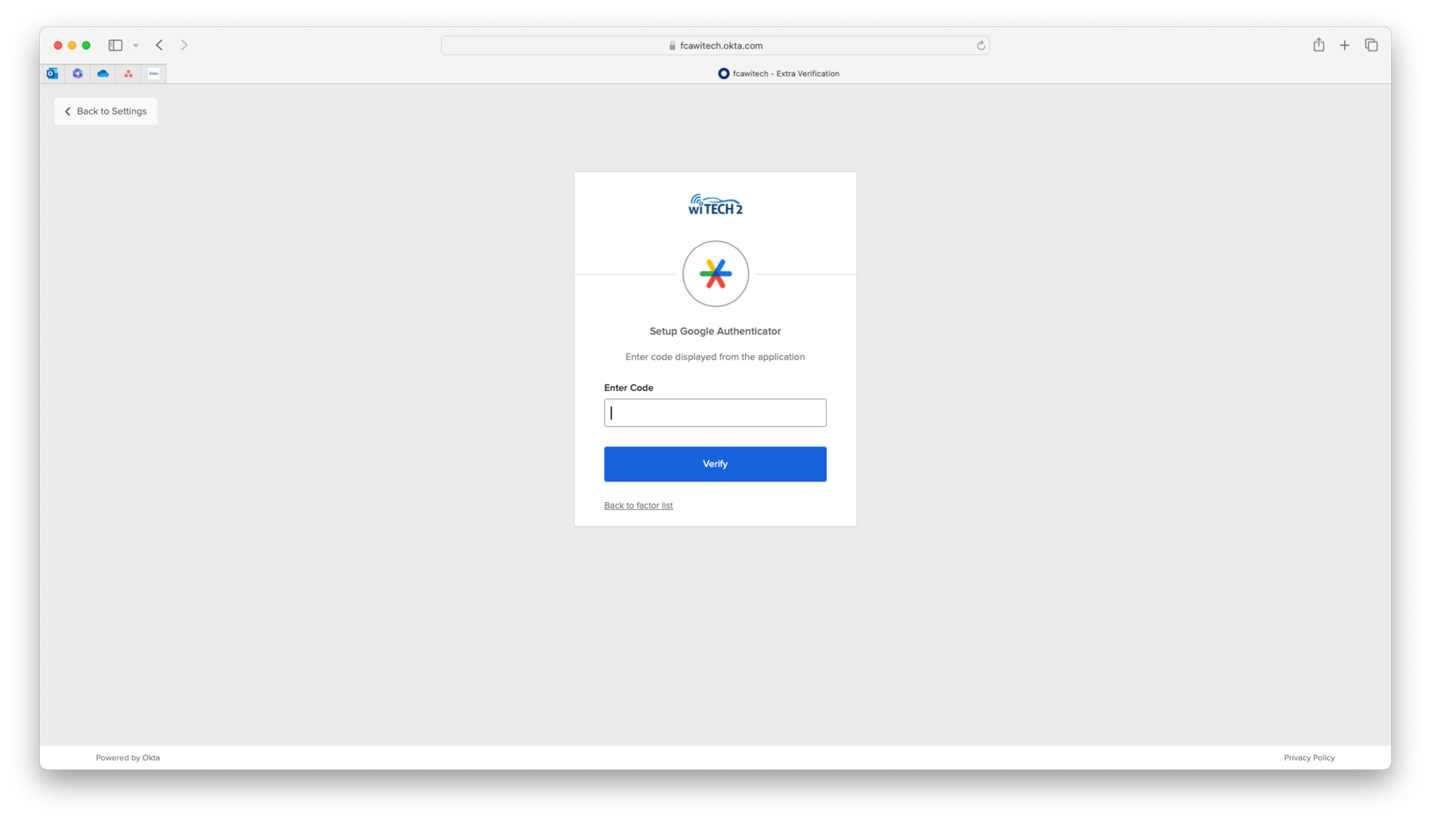
- The new user is now ready to use Aftermarket wiTECH 2 with Multi Factor Authentication.